Heartfelt Creations Products:
|
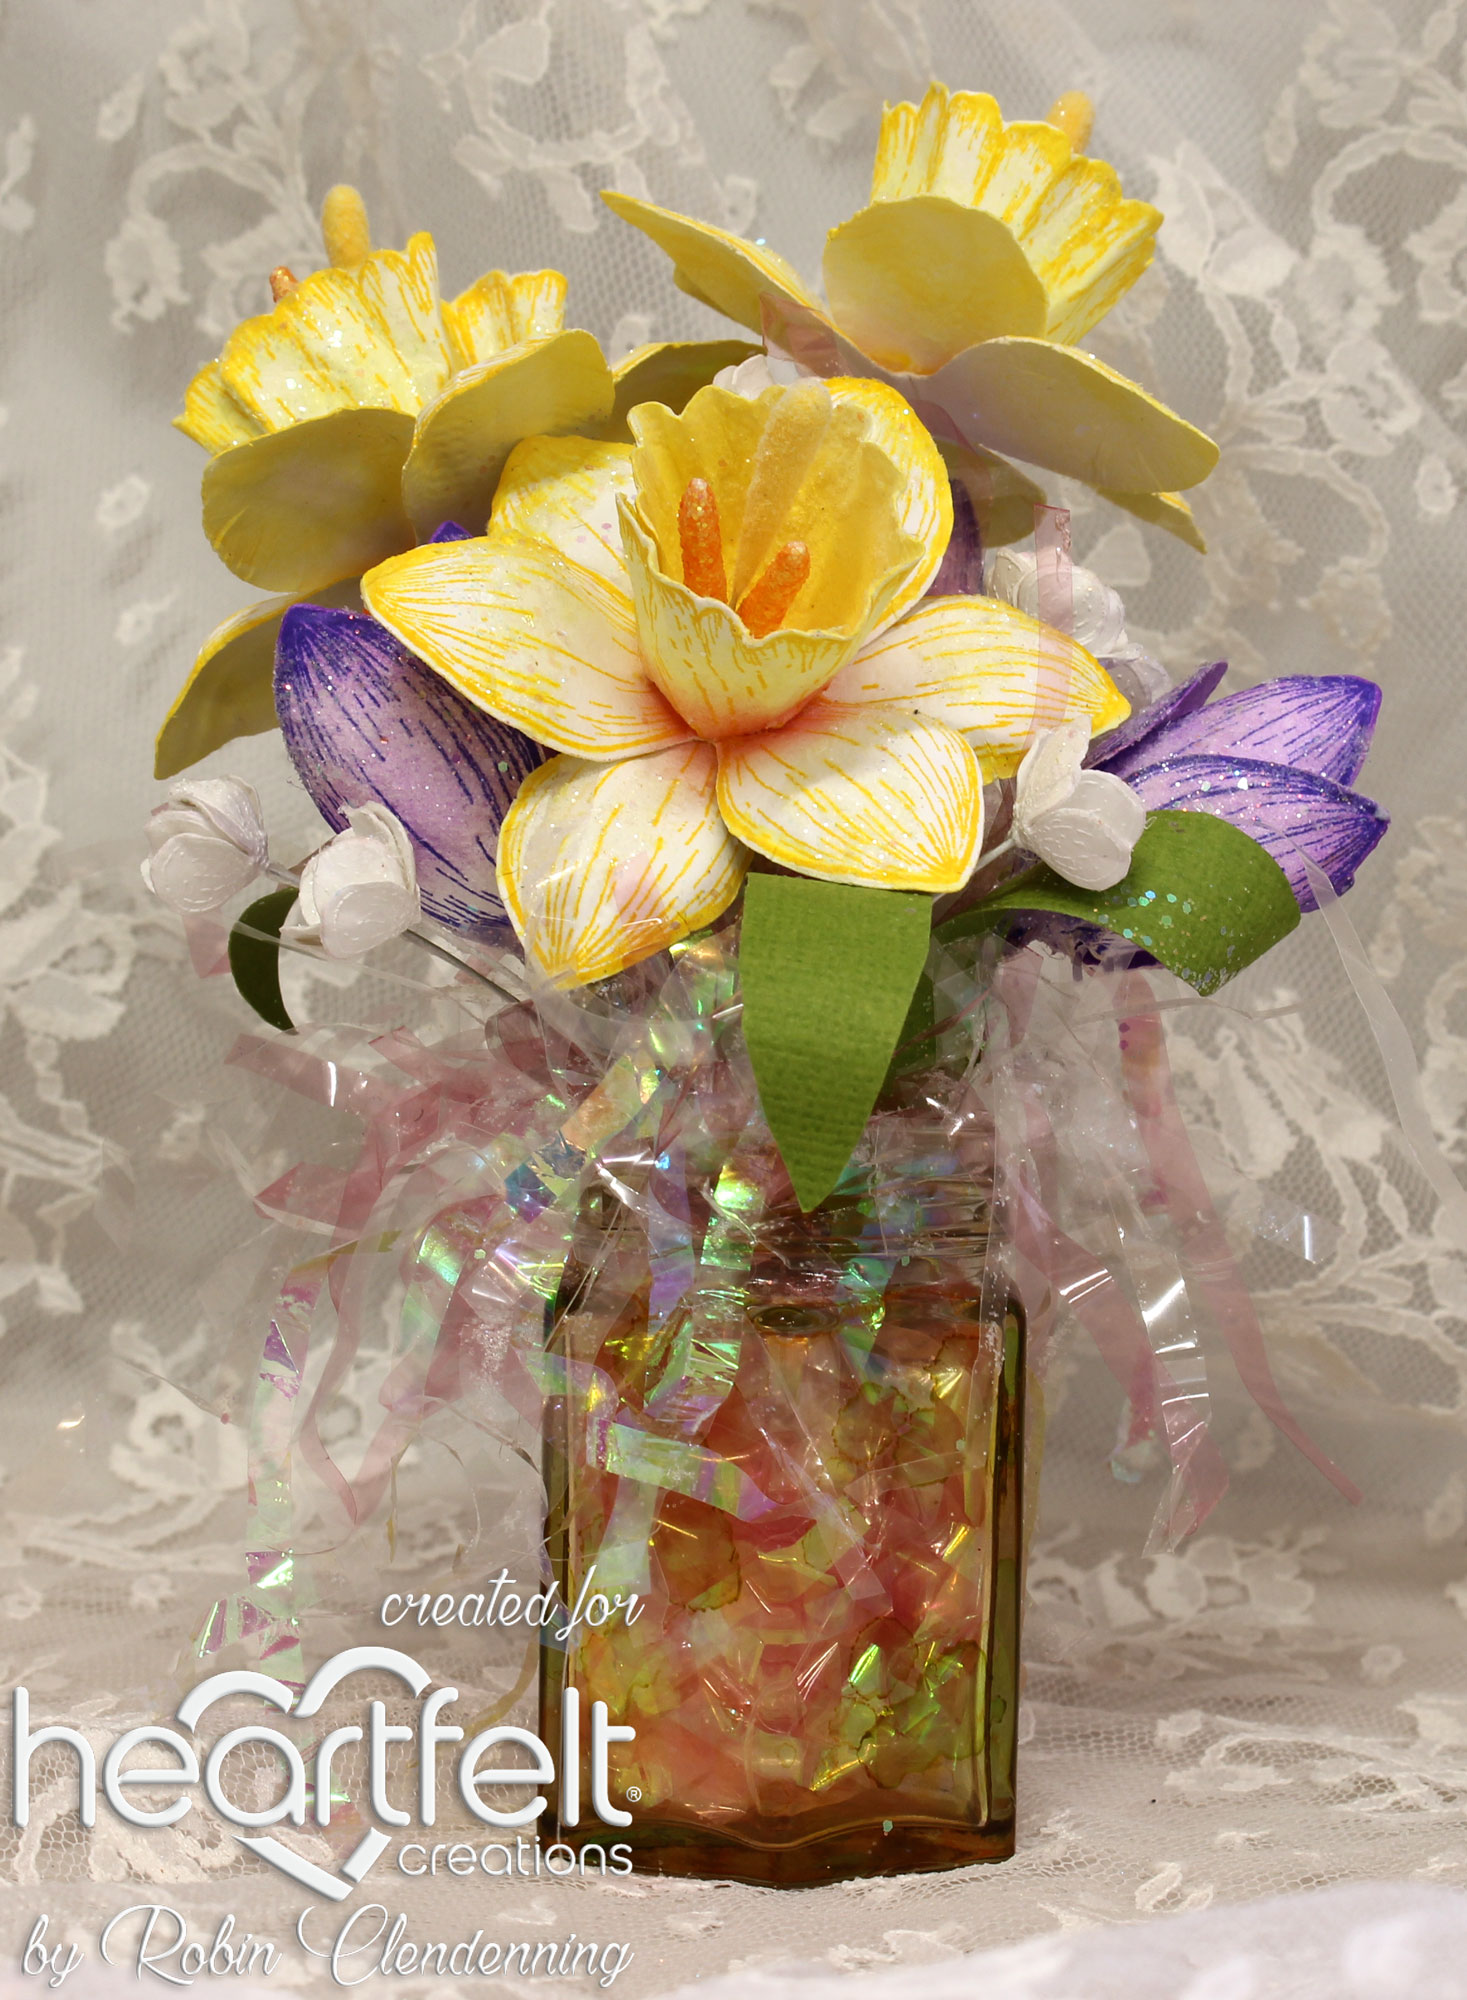
Spring Garden Paper Collection Deluxe Flower Shaping Paper Pack of 50-White Crystal Ultrafine Transparent Glitter Other Products: White cardstock, Spa ink pad, Shimmer additive Video
For more ideas on creating with the Elegant Gateway Dies and Accents, watch the tutorial at https://youtu.be/H6fZTiYUH_w. Instructions: Card size: 4 5/8 X 7 1/8”. Cut cardstock 7 ¼ X 11, fold in half then cut with the Lattice Flourish Die leaving the left side off the fold. Cut another front from white and a lavender decorative paper front. Cut the decorative die from silver and glue it onto the lavender. Glue the silver Happy Birthday to the opening of the decorative die. Stamp Hyacinth blossoms, the Daffodils (small), and butterflies using an aqua ink (I used Spa), sponge with aqua and Chartreuse, die cut and shape in the molds. All the flowers on this card are made from the Hyacinth and Daffodils stamps and dies just rearranged to make new flowers. The daffodil bottoms form the large flowers using the pollen stamen in the centers. The daffodil tops form another flower with the Rose Hip Stamen and medium Pearl Stamen for centers. The Hyacinth blossoms form the rest of the flowers with Rock Candy stamen died purple Stamp leaves with Fern Green and sponge with Leaf Green, die cut and shape in mold. Stamp and die cut 2 small zinnia using Fern Green, sponge with Leaf Green and use for Sepals under the cup flowers. Arrange large flowers in the left bottom corner then add the 2 cup flowers and leaves. Glue the small Hyacinth blossom flowers with purple stamen around the left side and top then fill in with leaves. Glitter all the flowers. Mix gloss with shimmer additive and paint the leaves with the mix. Thanks for visiting today! Robin Have you ever felt like you have done things that just can't be forgiven? Most of us have, I certainly have but not anymore. When you realize that God loves you so much and wants you with Him forever that He sent His Son to "pay for your sins" Himself by dying for us then you know that you can be forgiven and you can become a new person inside. I have experienced this super love, this fantastic freedom, this miracle of the heart. God says in His word that if you believe in your heart and confess with your mouth that Jesus is the Christ and that He died and rose again from the dead (which there are many witnesses of that fact) then you will be saved and your sins (EVERYONE has sinned) will be forgiven never to be remembered by Him again! Below is just 1 small portion of scripture but believe me, there is a ton, to reassure you of His love. John 3:15-17 15 that whoever believes in Him should [c]not perish but have eternal life. 16 For God so loved the world that He gave His only begotten Son, that whoever believes in Him should not perish but have everlasting life. 17 For God did not send His Son into the world to condemn the world, but that the world through Him might be saved. |