Pages

Comments are welcome and very much appreciated!

Tuesday, May 25, 2021

Shaped Butterfly Watercolor

Good morning!
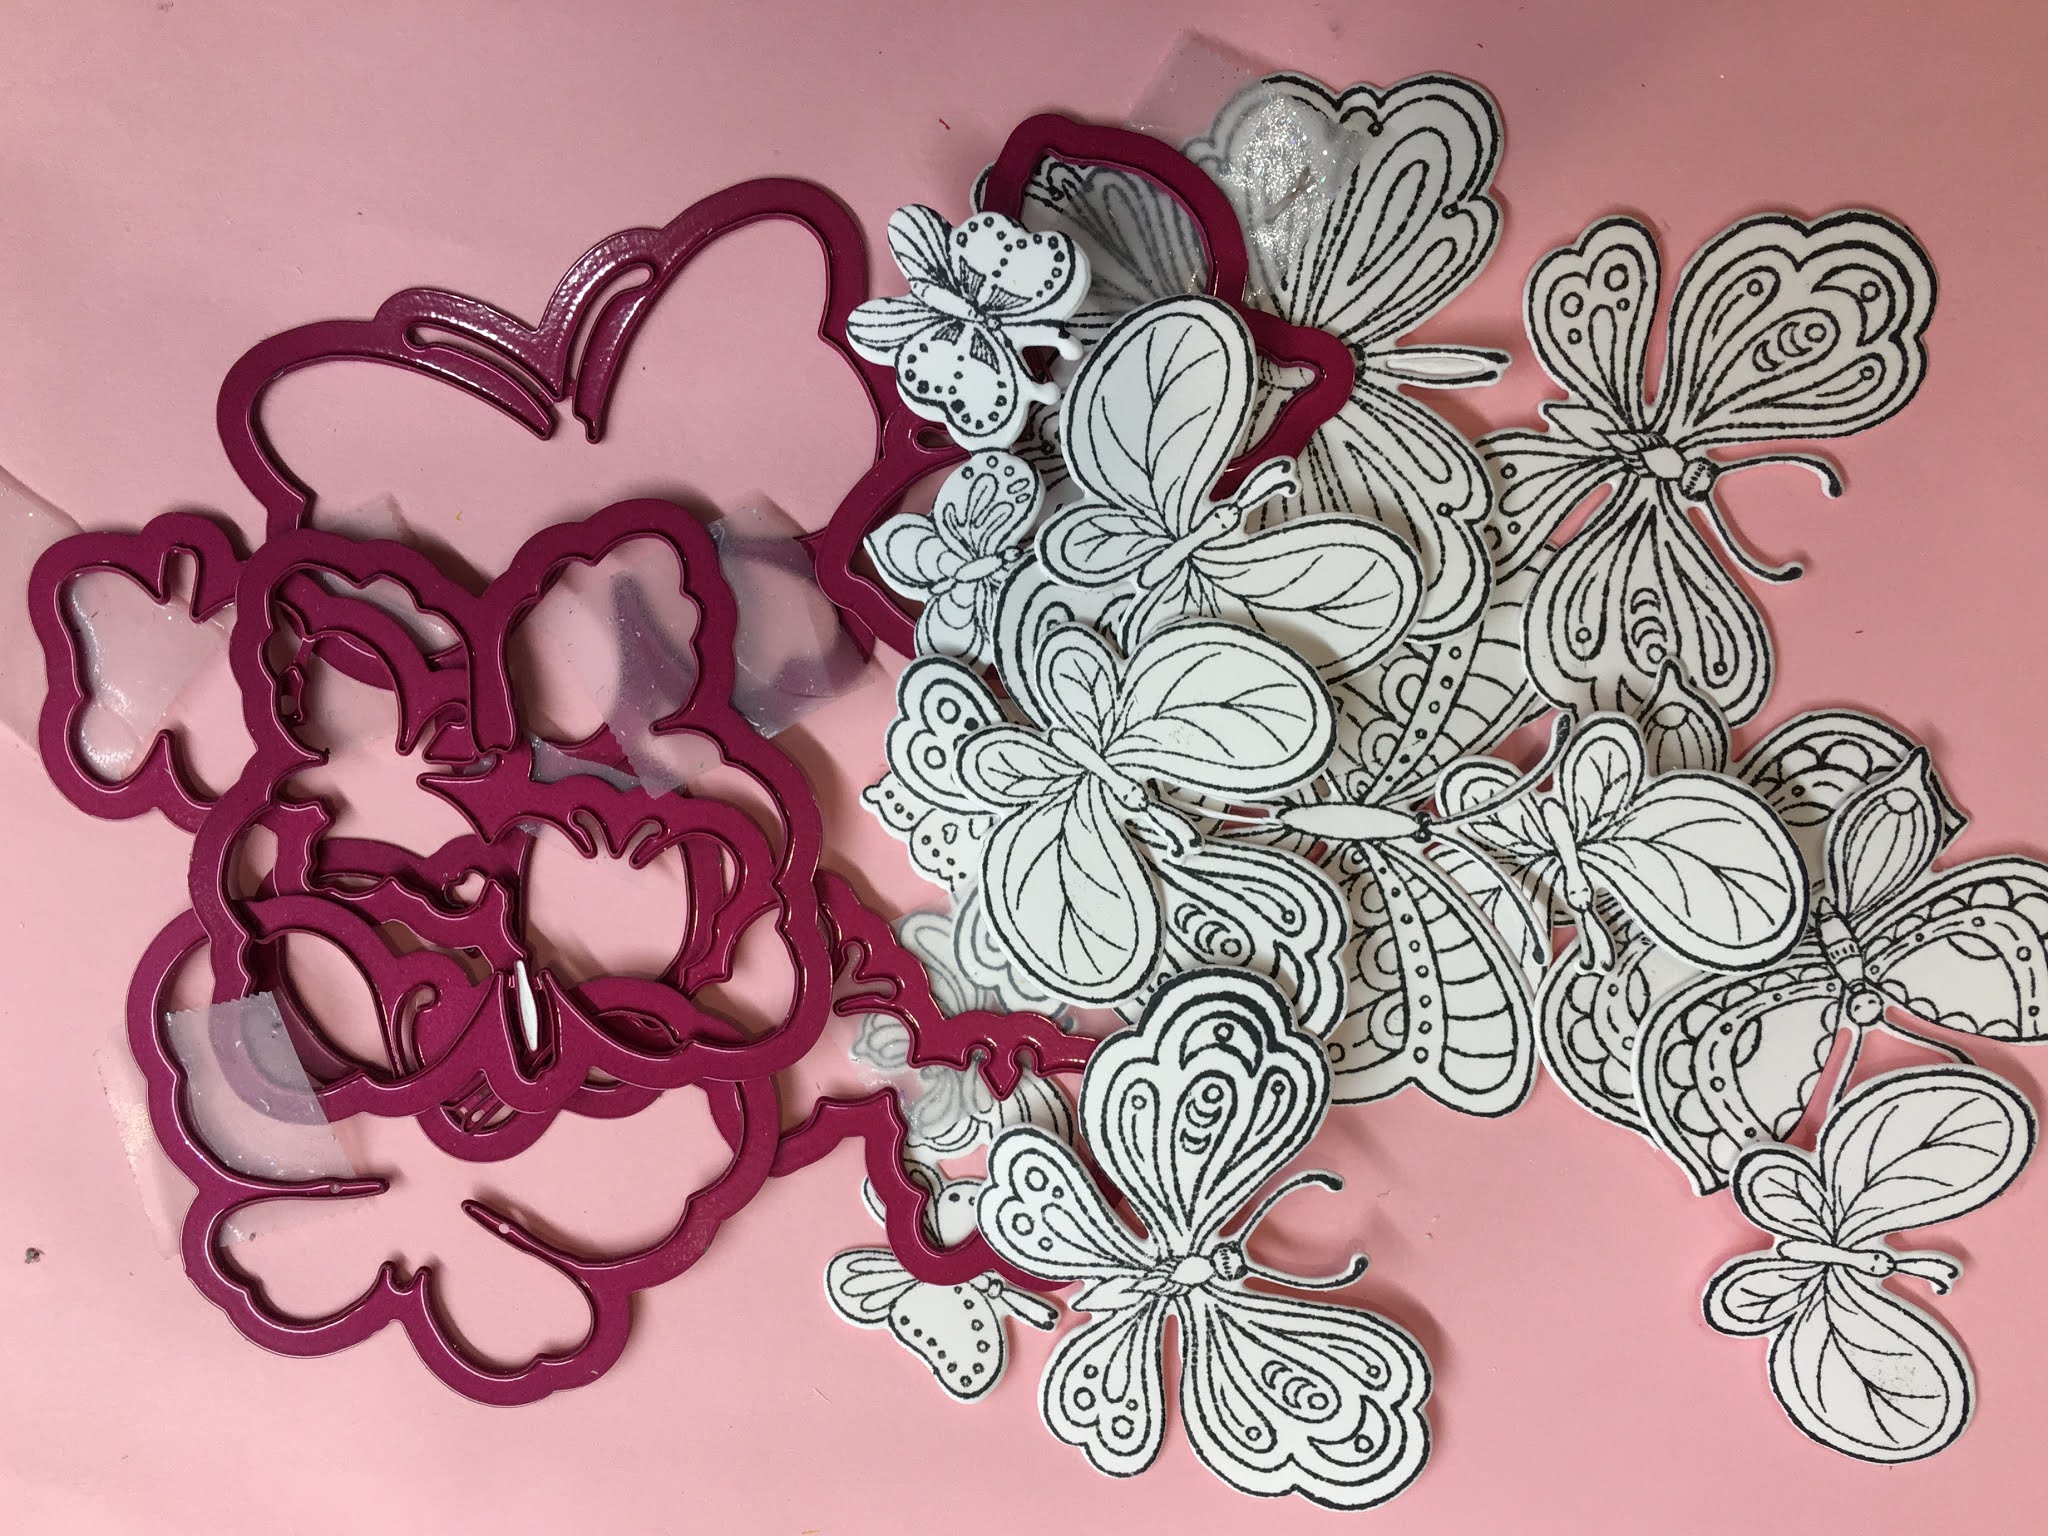
Everyone loves butterflies and most everyone loves to
color.  These butterflies from Heartfelt Creations 
are perfect for the person who loves to color either 
with pencils, alcohol inks or water color.
Whatever your preferred method of coloring, these are wonderful!

I've chosen water color today, using the Clean Color Brush Markers.

Inside I've used the very colorful butterfly background paper from the Paper Collection.


Heartfelt Creations Products:

Other Products:
VersaMark Ink, Water brush, Watercolor paper, White cardstock-heavy weight

Videos:

For more tips on creating with the flower shaping molds, watch the tutorial at https://youtu.be/FSdPL7nXvQE.

For more ideas on creating with the 5 x 7 Decorative Frame Dies, watch the tutorial at https://youtu.be/qdBFA5VpmSo.

Instructions:
Card size: 4 3/4 X 5 3/4".  Fold 10 X 6 white heavy cardstock to make 5 X 6 card then place the large outer die of the butterfly hanging over the fold about 1/4" (see video above for making shaped cards in the 5 X 7 Decorative Frame Dies Tutorial).  Die cut another full butterfly front then glue to card top. 

On a piece of water color paper, stamp the large butterfly using VersaMark or other clear embossing ink, emboss with white powder then die cut.  Use the Zig Clean Color markers to color the decorative sections.  When the paint is completely dry, glue it to the card front.

Stamp the tiny blossoms using VersaMark, emboss with white then die cut and form with a stylist from the back.  Create a pocket in the front center and fill with Prills.  Stamp the leave (the long vine) from French Cottage’scapes using a light green, die cut and form slightly from the back then cut the leaves apart as needed.  Form 2 small arrangements of flowers and leaves and glue them to the top left and bottom right of butterfly.

Cut another butterfly out of decorative paper for the inside of card, glue to card.  
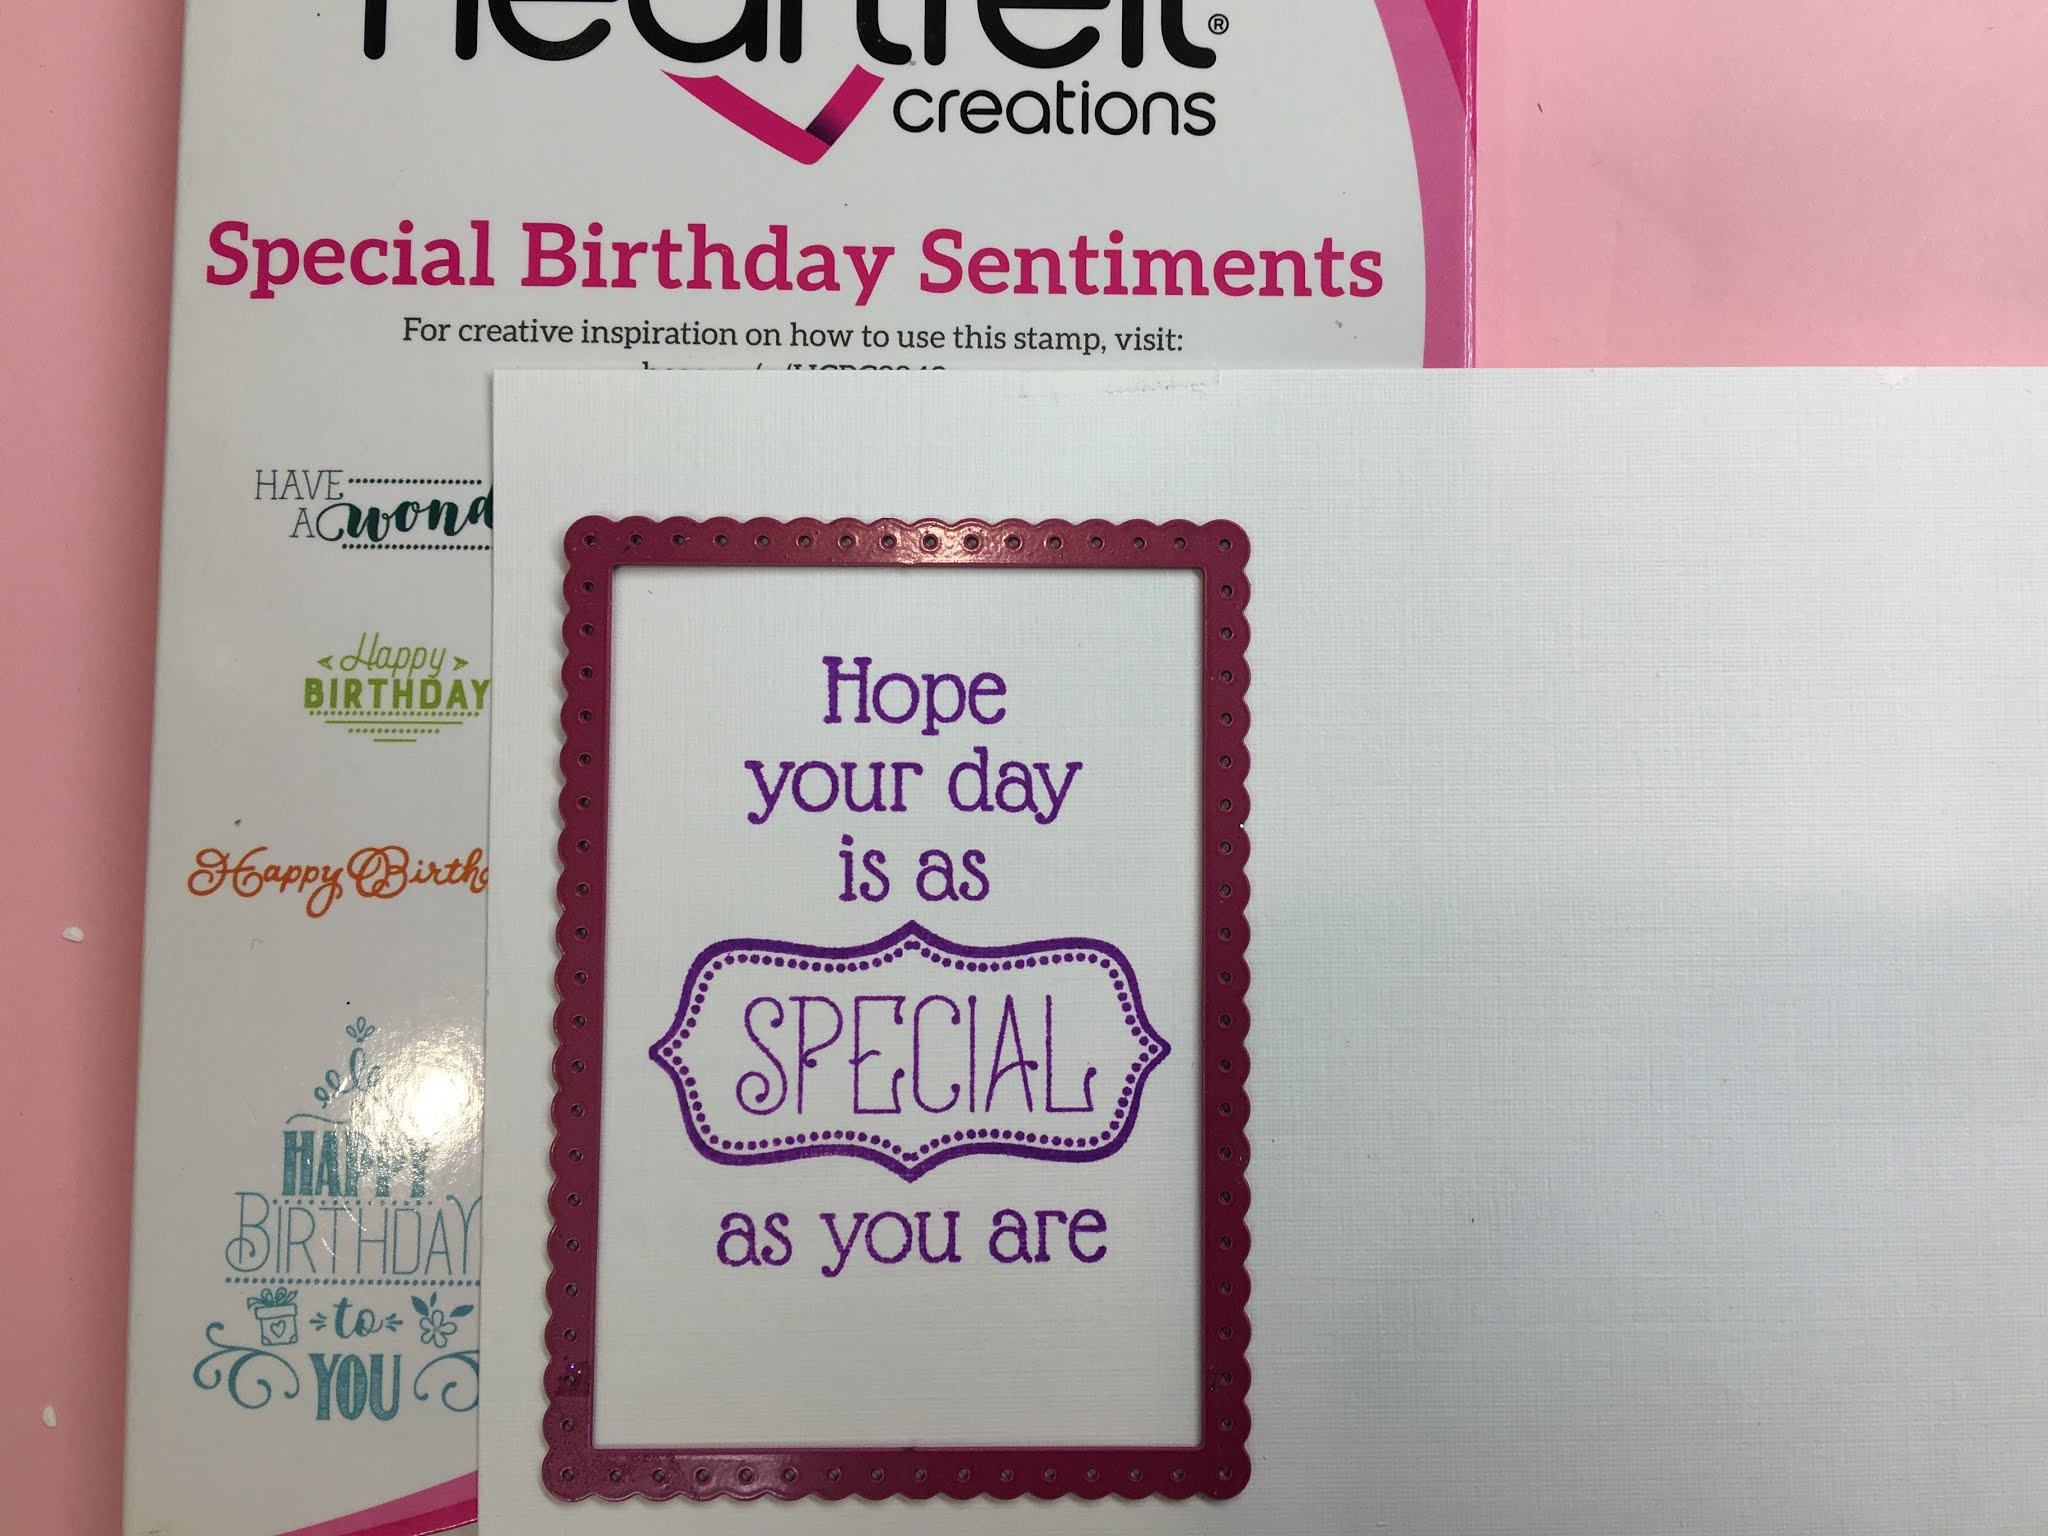
Stamp, using Magenta Hue, the sentiment, die cut then glue it to the inside center.

Finish by glittering the flowers and butterfly.

Thanks for visiting today!

Robin


33 Oh, how great are God’s riches and wisdom and knowledge! How impossible it is for us to understand his decisions and his ways!


Tuesday, May 18, 2021

Butterfly Frame

Good morning!
These small butterflies make the perfect frame!!
Instead of paper flowers in the center, think of your favorite 
photo of the family or maybe a daughter or niece.

Heartfelt Creations Products:
Other Products:
White cardstock, green cardstock, lavender cardstock, ribbon, Copic Markers: RV04, RV02, RV10, Y11, Y15, V01, V12, V15, R21, R22, B21, B24, YG11, YG14, YG03, YG17

Instructions:
Card size: 6 X 6.   Cut a green card 6 X 12, fold at the top.  Add a square piece of decorative lavender paper 5 3/4 X 5 3/4".  Cut a decorative piece (plaid) 5 X 5” then use it as a base to make a straight frame with 4 plain purple decorative paper frame pieces.  Glue them onto the plaid.  Cut 4 more frames with the inserts out of decorative green paper then glue them to the purple frame pieces to complete the 5 X 5 frame.  Cut 4 Sweetheart border pieces out of lavender cardstock, glue them evenly under the frame sides so that only about 3/8” sticks out to make a border.  Glue the frame to the card on top of lavender decorative paper.

Stamp using black, color and die cut 4 butterfly borders, pop them up on the frame evenly (there will be 2 extra butterflies left, save).  Stamp fern and 2 flower stems using black, die cut and color, form slightly from the back with a pad and stylist (Deluxe Flower Shaping Set).   Glue and pop up at an angle, cutting where necessary to fit inside of frame.

Stamp the sentiment on decorative paper tag and die cut.  Insert in bouquet toward the top.  Pop up one of the leftover small butterflies onto bouquet.  Glitter card especially butterflies and flowers then add a sheer purple bow to the bouquet bottom to finish.

Thanks for visiting today!
Robin

Romans 11:33-36

33 Oh, the depth of the riches both of the wisdom and knowledge of God! How unsearchable are His judgments and His ways past finding out!

34 “For who has known the mind of the Lord?
Or who has become His counselor?”
35 “Or who has first given to Him
And it shall be repaid to him?”

36 For of Him and through Him and to Him are all things, to whom be glory forever. Amen.


Saturday, May 15, 2021

Hidden Panel Tutorial with The Floral Butterfly Collection


Step 1: Cut 2 white cardstock panels 5 1/2" x 10”, score each at 4”, 6” and 8” at opposite directions (right and left sides). Mark each 2” end piece with a pencil from the bottom up to 2 1/4". Cut each panel diagonally from the 4” score line to pencil mark at 2 1/4”. (Measurements shown on photo.)


Step 2: On one of the panels, cut the center of the 4” panel with a rectangle die (Do not cut all the way out, stop before cutting the top and this will be a fold line). Just place the top cutting plate up to but not over the cutting edge of your die, it will then cut all but the top out.

TOP TIP: If using a die cutting machine that is not large enough to do this partial cut while open, then fold first/second score inward and over top of die not under, as shown here.


Step 3: Cover each inside panel of both pieces with plaid decorative paper using the Floral Butterfly Paper Collection (always avoid score lines) then cover the outside panels (only panels that show from the front when closed) with a coordinating green decorative paper. (Don’t worry about the door that was just cut, when you are done covering pieces turn the panel over and recut the lines with a craft knife). Now you should have a left and right piece covered with decorative paper on fronts and backs.


Step 4: Create a decorative paper panel for the lifting door then use the Eyelet Rectangles & Basics die (extended) to make a pretty frame. This is a frame so two dies are taped together, the eyelet and the straight edge nesting rectangle dies. Rescore the fold at the top of door. Now glue right and left sides together. Keep from gluing the door area but make sure both side edges of the door have glue and match bottoms.

TOP TIP: The way to extend any die with regular repeated edges or plain edges is to place the die on a long enough piece of cardstock at one end of the paper then die cut all the way to within 1/2” of the end of the die, stop, lift die and move it down so that pattern lines all meet then cut again to desired length.


Step 5: Stamp sentiment from Special Birthday Sentiments Stamp Set using Deep Purple then die cut it to fit inside the door. 


Step 6: Make 4 door closures using the Window Hinges Die, 2 from chip board or very heavy cardstock and 2 from purple decorative paper. Glue sets together to make 2 then use purple brads to secure so that they can keep door shut. Stamp and die cut sentiment for the outside of door using Fancy Special Day Stamp and Die.


Step 7: Die cut borders for the top of card using the Sweetheart Borders Die. Glue borders on, trimming as necessary. Butterflies will cover any seams.


Step 8: Stamp butterflies from Small and Large Floral Butterfly Cling Stamp Sets and greenery from Floral Butterfly Accents Stamp Set using black ink, die cut using coordinating dies then color to match designer papers used.

TOP TIP: When coloring with alcohol inks such as the Copic Markers used here, stamp using Memento Tuxedo Black ink. When coloring with water based inks, stamp using Archival Jet Black ink.


Step 9: Now decorate the inside of card while unfolded, as well as the backs that show when the card is folded closed.

Step 10: Make a belly band 2” x 9 1/2" then score at 2 1/2" and 7”, fold and glue center together, cover front of belly band (seam side) with decorative plaid paper 1 3/4" x 4 1/2". Cut 2 more Sweetheart Borders for the top and bottom of belly band front then glue them in place. Cut an oval using the Eyelet Oval and Basics Die to fit the front from white cardstock and from decorative coordinating paper, glue these together for strength then glue the oval over the center. Glue one of the previously stamped and colored butterflies to the oval. 

TOP TIP: Learn more techniques with the Floral Butterfly collection in this video here: https://www.heartfeltcreations.us/video/how-to-create-shaped-floral-butterfly-cards-with-vellum

Have fun creating your own projects! We love to see what you create too, share your projects with us on our Facebook page here https://www.facebook.com/HeartfeltCreations 


Thanks for visiting today!
God bless you and keep you!  God make His face shine upon you!
Robin


Tuesday, May 11, 2021

Butterfly Gardens Easel

 Good morning!

Isn't this big butterfly beautiful!  

Wow, just think of all you can do with this beauty.

Today I've made it into an easel card.


Heartfelt Creations Products:

Large Floral Butterfly Die

Large Floral Butterfly Stamp Set

Sweet Magnolia Blooms Die

Sweet Magnolia Blooms Stamp Set

3D Magnolia Shaping Mold

Cheerful Notes Sentiments Stamp Set

Album Tags and Accents Die

Rock Candy Stamen-Small

Bright Pearl Stamen-Medium

Luxe Gold Cardstock

Deluxe Flower Shaping Paper Pack of 50-White

Rajni Chawla’s Crystal Clear

Opaque Embossing Powder-White

Metal Tip for Adhesive Bottles

Dries Clear Adhesive

Magenta Hue Archival Ink

Fern Green Archival Ink

Leaf Green Archival Ink

Other Products:

White cardstock-heavy weight, Peerless Watercolors, sheer ribbon, embossing ink (VersaMark used here), watercolor paper.

Videos:

For more ideas on creating with the 5 x 7 Decorative Frame Dies, watch the tutorial at https://youtu.be/qdBFA5VpmSo.

For more tips on creating with the flower shaping molds, watch the tutorial at https://youtu.be/FSdPL7nXvQE.

Instructions:

 Card size: 4 3/4 X 5 3/4".  Fold a piece of heavy weight white cardstock, 10 X 6, to measure 5 X 6.  Place the top of the outer Butterfly die just over the fold so that it will not cut away fold (about 1/4" over fold).  Score cut out butterfly again on the right side right at the intersection of top and bottom wing, fold down toward card inside to form the easel.  Cut another full outer butterfly from white and glue just the bottom half to the folded down bottom half of card base butterfly.

Use a piece of white watercolor paper (smooth as possible) about 5 X 6” and wet entire piece.  Use a large flat brush to “wash” paper with Fuchsia watercolor.  Let dry completely then dust the paper with non static pouch, ink Large Butterfly stamp with VersaMark or other clear embossing ink stamp washed paper, emboss with white powder then die cut.  Stamp another piece of white with the butterfly stamp, emboss then die cut for the inside of card.  Sponge the outer edges of inside butterfly with Magenta Hue.  Glue the inside down to inside of card and glue the watercolor washed butterfly to front of card.

Die cut the decorative butterfly out of Luxe Gold and out of white, glue them together slightly offset.  Cut out another gold head and antenna from the butterfly die (the one used to die cut the stamped image), glue the gold head to the stamped watercolor butterfly.  Glue the decorative gold and white butterfly to the body of stamped butterfly and gold head, leaving wings free. 

Stamp Magnolia Blossoms using Magenta Hue, sponge backs, die cut and shape in the mold.  Stamp leaves using Fern Green, sponge front and back with Leaf Green, adding in a bit of Magenta Hue at the tips, die cut and shape in the mold.  Glue 2 of each size blossom together to form each flower, insert gold and hot pink stamen.  Form a small arrangement for the inside of card to be placed just so that butterfly will stay open to desired position. 

Stamp sentiment using Magenta Hue and die cut using a small tag.  Glue a fuchsia bow to the top then glue the tag to the inside of card.

Finish card by glittering the body of the butterfly on the front and glittering the flowers inside.


My next project is a pretty basket just right for filling with candy treats or some other small surprises.


Heartfelt Creations Products:

Small Floral Butterfly Die

Small Floral Butterfly Stamp Set

Lattice Swirl Gateway Die

Tuxedo Black Memento Ink

Crystal Ultrafine Transparent Glitter

Metal Tip for Adhesive Bottle

Dries Clear Adhesive

Scor-Pal Measuring & Scoring Board

Spellbinders Tool N One

Stamp Mat Pad

5pc. Acrylic Block Set

Other Products:

White cardstock, Copic: R22, R21, RV10, RV02, RV04, YG11, YG05, Y11, Y15, B21, B24, V01, V12, V15, ribbon, Easter basket pearlescent grass, Acrylic Shimmer Additive

Instructions:

Size: 1 3/4" deep, 4 3/4" wide, 6 3/4" tall.  Cut 2 Lattice Swirl Gateway Dies from white.  Cut 1 piece of white 2 1/4" X 9” then score the strip at 2 1/2" and 6 1/2" leaving 2 1/2" end.  Score down both long sides at 1/4" making a 1 3/4" wide side and bottom of basket (this can really be any width you desire just be sure to add 1/2" for the tabs on the long sides [1/4” each] and the other scores would be the same).  On each side at the short score make a notch from edge to long side score line, this enables nice folds for a box without excess paper. 

Fold on all score lines then glue to 1 of the die cuts about 1/2" from the bottom (sides will tilt in slightly).  When completely dry, glue the other die cut so that bottoms, sides and tops match then glue the top “handle” together about 1” across but no further down the sides.

Stamp various butterflies from the Small Floral Butterfly set, die cut and color with preferred coloring method.  If you watercolor make sure to stamp butterflies on smooth watercolor paper to hold up to the water also use Archival or Versafine Claire to stamp with as Memento is best with alcohol inks and may bleed with water.  Add some shimmer to the wings mixed with a tiny bit of water.  Paint glue around the edges of butterflies and sprinkle with Ultrafine glitter.

Arrange butterflies on the front of basket and 1 for the inside of the back, seen from the front.   Glue onto basket then add a multi-loop bow to the top.  Stuff basket with pearlescent grass and it is ready to fill with treats.

Thanks for visiting today!

Robin

Instead, be kind to each other, tenderhearted, forgiving one another, just as God through Christ has forgiven you. 


Tuesday, May 4, 2021

Thinking of You Magnolias

Good morning!
I really love these Gateway shaped cards.  Today
I have a card that would make a lovely Mother's Day card 
if you need to make a last minute card.


Heartfelt Creations Products:

Sweet Magnolia Blooms Die

Sweet Magnolia Bouquet Die

Sweet Magnolia Blooms Stamp Set

Sweet Magnolia Bouquet Stamp Set

Sweet Magnolia Paper Collection

3D Magnolia Shaping Mold

Lattice Swirl Gateway Die

Circle Basics Large Die

Just For You Sentiments Stamp Set

Deluxe Flower Shaping Paper Pack of 50-White

Pastel Pollen Stamen-Medium

Rock Candy Stamen-Small

Assorted Bead Stamen-Medium

Majestic Violet Archival Ink

Buttercup Archival Ink (to dye Rock Candy Stamen)

Fern Green Archival Ink

Leaf Green Archival Ink

Metal Tip for Adhesive Bottles

3-D Crystal Lacquer

Dries Clear Adhesive

Rajni Chawla’s Crystal Clear

Crystal Ultrafine Transparent Glitter

Other Products:

White cardstock, Acrylic Shimmer additive, tiny flower punch (for bud sepal), Copic: G21, G84, V11, V15, V01, Y15, foam sheet

Videos:

For more tips on creating with the flower shaping molds, watch the tutorial at https://youtu.be/FSdPL7nXvQE.

For more ideas on creating with the 5 x 7 Decorative Frame Dies, watch the tutorial at https://youtu.be/qdBFA5VpmSo

Instructions:

Card size: 4 3/4 X 6 3/4".  This card has a side fold.  Place your die on the fold, letting it over-hang the fold so as not to cut it, (see video above).  Cut the outer die again on white and 2 times on light yellow (1 will go inside).  Use a good weight white to help keep the fold edge from getting bent (if you skip this part you will be sorry later because the decorative paper wasn’t meant to be heavy weight for a card base and your left edge will get messed up!!) Glue the yellow inside and glue the white and yellow together for the outside and adhere to card front.

Die cut the decorative die using white then glue it to the front.  Stamp the sentiment on white using Majestic Violet, die cut with a small circle die, die cut another small circle from foam.  Edge the stamped circle with Majestic  then glue it to the foam and then onto the card.

Stamp flowers using Majestic Violet, die cut.  Stamp the leaves with Fern Green, sponge with Leaf Green and Majestic, die cut.  Sponge the backs of leaves with Leaf and sponge the edges and flowers and the backs with Majestic (go very light on the backs).  Run leaves and flowers through cutting machine with the Mold. Glue 2 layer each for flowers, pierce centers and insert dyed stamen (use Buttercup to dye stamen).  Use 1 flower as a bud, stamp side out.  Use a Golf Groove tool to curve the petals in so that they fit together nicely then glue shut.  Inside 1 pollen stamen and use the wire for a stem.  Punch a very small flower from green paper, cut into center to make a slit then fold around bottom of the bud to create a small sepal.  Arrange flowers and leaves around the bottom/left including the bud. 

Stamp Magnolia Bouquet curve using black then color and die cut.  Use a tool to shape slightly from the back.  Use some pop-ups on the back of small flowers to give it a little dimension then adhere to card top.  Glitter the card randomly using a sponge and Crystal Ultrafine glitter.  Use Crystal Clear to glitter all the flowers.  Mix shimmer to lacquer and paint the leaves with it.

Thanks for visiting today!

Robin

Romans 12:2

Don’t copy the behavior and customs of this world, but let God transform you into a new person by changing the way you think. Then you will learn to know God’s will for you, which is good and pleasing and perfect.