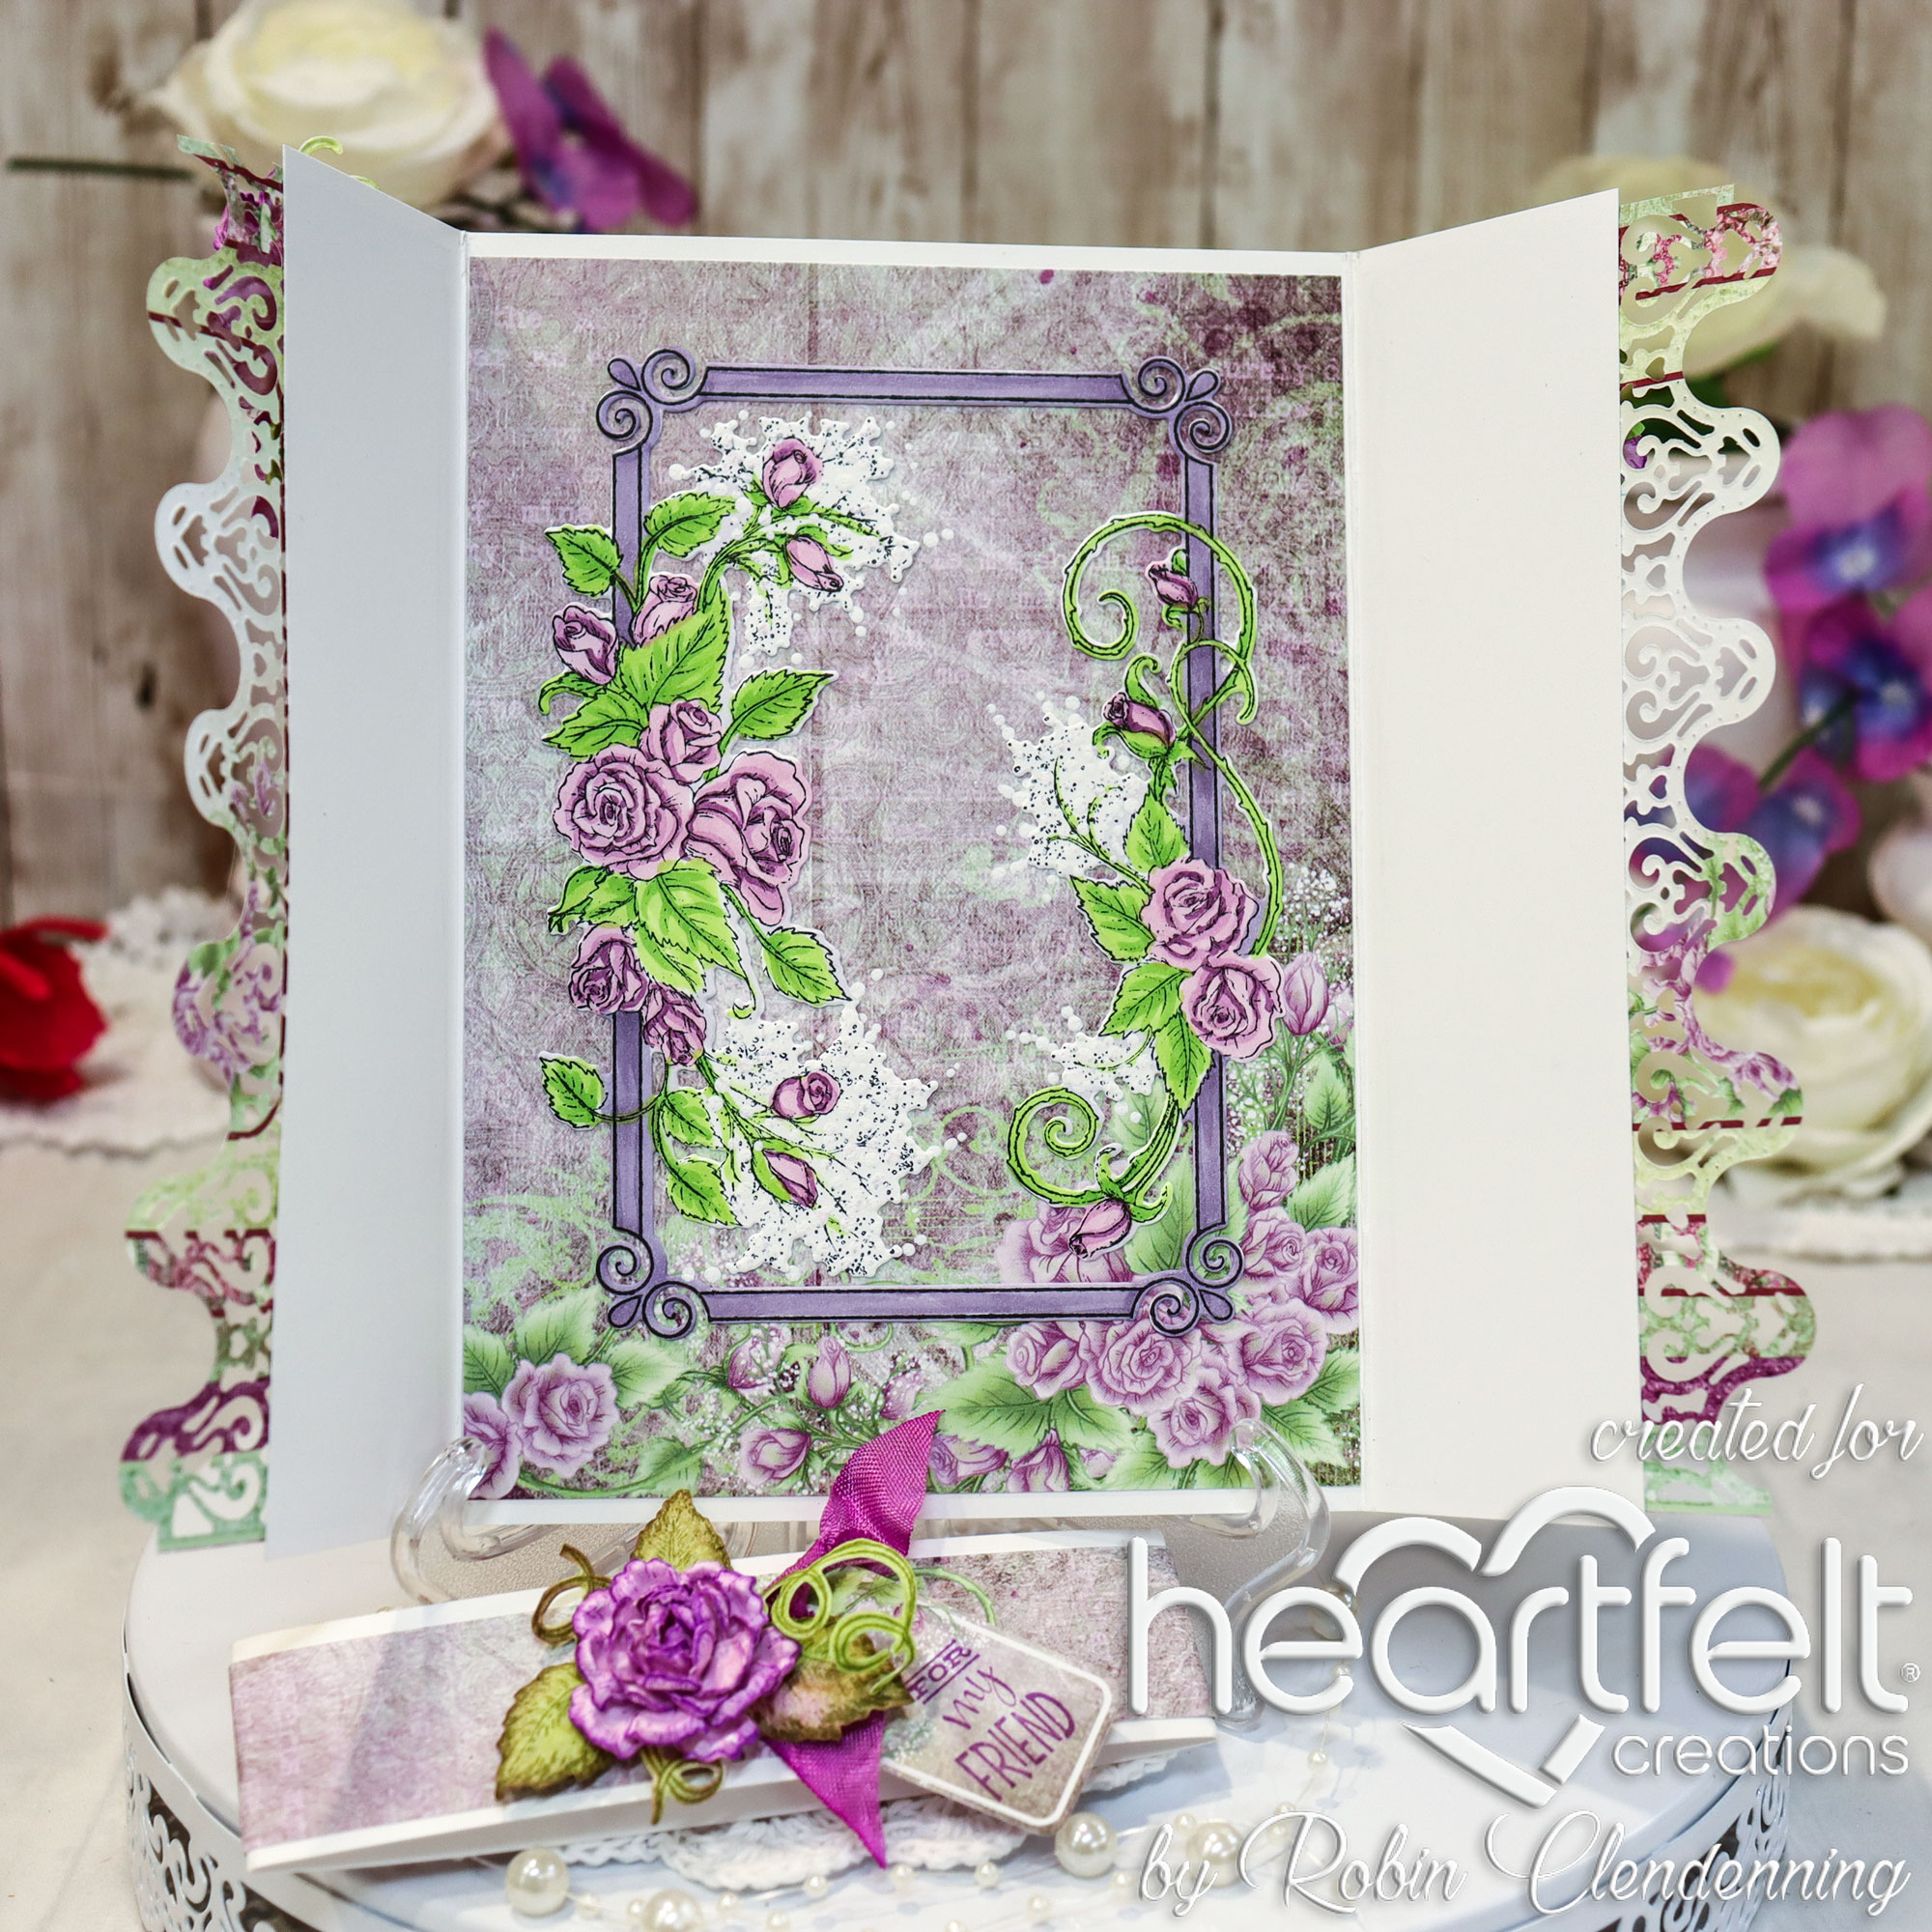
Good morning!
I know this card is similar to last week's card but at the
same time it is also totally different.
You'll find this card is a gatefold card using the beautiful
Adorn it die to make the gates. I also made a beautiful
Belly Band to hold the card closed until
the recipient opens it.
I used rub on metallics to try and make the copper
and black look like aged metal.
Inside I used dyed texture paste to make flower fields.
I also used glue with Prills as well.
You'll also notice that I used the Seaside clouds in the sky. They are perfect for High Sierra
summer clouds.
HC PRODUCTS USED
Other Products:
Black cardstock, white cardstock, bronze/gold cardstock,
snow pen, foam tape, re-inkers in blue, orange, yellow and pink, Copic markers:
YG03, YG17, YG23, YG63, R21, R20, R17,
R29, R22, V01, V12, V15, RV10, RV02, Y38, Y15, Y11, B00, B01, BG11, C2, C3, C5,
W2, W5, G21, E50, E53, E33, E35, E59, E42, E43, E44, Distress Oxide Ink: Carved
Pumpkin, Worn Lipstick, and Mustard Seed, Fun Foam/foam sheet.
Instructions:
Card size: 6 X 7 1/2". Make a card base by cutting 2
Adorn It dies out of bronze cardstock, Use sponges or finger to add other
metallic colors to it with the Mousse colors.
Cut 1 Petite Pocket Accent wide and narrow decorative dies out of
bronze, use the mousse on them and glue them together. Cut black heavy cardstock 6 3/4 X 8” Score
the 2 sides at 1” Glue the 2 Adorn It
die cuts to the outside of folded 1” tabs on the sides. Save the Petite Pocket
Accent die cuts until the end to glue on top of card.
Scene
building: start with 5 7/8” X 6 1/4” white cardstock and sponge the sky area
with Orange pink and yellow Oxide inks.
Stamp, die cut and color: clouds, mountains X 2, water wheel scene X 2, stump,
squirrel, deer, foreground with rocks an flowers X 2, hollyhocks, flowers from
Woodsy set, 2 spruce from Snow Kissed set, cattails. When cutting out one of the water wheel
scenes, make sure to extend the sides out to almost 6” (the die only cuts the
top part so this is easy to do as long as when stamping you allow plenty of
room sides and bottom of image). Extend
the river edge on the right side all the way to the left side of the panel (ground
part of panel is now 3 3/4 X 5 7/8” [not counting trees and waterwheel
building]). Extend the left side of
rivers edge on over to the far left as well, no need to use a pen, pencil is
fine for this. Color this entire scene
adding “flowers” to ground where there is blank space that needs it. Add the color reflections to the water, I
looked at the decorative paper for this. Now before adding all the popped up
elements and animals. Flowers etc. Use
texture paste in VERY SMALL amounts, add a tiny bit of color to each small
batch then add more foreground flower patches to the areas where needed. Yellow,
orange, pink and blue is what is used here, sprinkle with glitter and let dry.
When coloring the mountains add some “Alpine Glow” to one
side or the other for interest. Add
these colors to the clouds. Die cut
extra waterwheel building with tree and die cut the die cut the other tree as well
finishing with fussy cutting the trunk. One set of mountains is glued down to the sky,
the next set is popped up. Add a piece
of Fun Foam from the mountain bottom to the bottom of scene panel then glue the
waterwheel scene to it. Now start adding
the extra features like the popped up waterwheel building with tree, the popped
up extra trees, the Spruce glued on the sides, the deer glued. Now do the foreground by adding flowers and
cattails to the sides (leave most of deer visible) and then the very bottom
with the grassy rocks and flowers. Now
glue stump and squirrel to the right bottom of panel. Cut off any portion that extends over the
bottom or sides of scene panel. Making it even all the way across the bottom
and sides then glue it to the card base in the center.
For a
final touch, add glitter to all the flowers and add some snow pen to the water
coming off the waterwheel then heat to puff slightly. Now finally flue the top
decorative die cut to the top of card base over parts of the sky.
To make
the belly band: Cut a piece of black cardstock 12 X 1 1/2", cut a piece of
bronze cardstock 1 X 6 1/4". Score
and fold black strip at 2 3/4" on both sides (it does not meet in the
middle but that will be covered). Make sure it will slide over card, if needed
make a second score make next to the first to add some depth to the band. Glue the bronze piece on to the top over part
that doesn’t meet. Add some Mousse
colors to the bronze edges. Die cut the
Daydream Bridge decorative die out of black, add mousse. Die cut eyelet diamond out of black add
mousse to edges. Glue the eyelet diamond
to the center of the decorative die from Daydream Bridge. Die cut a scene from decorative paper with
diamond small enough to go over eyelet diamond and glue it to the eyelet
diamond. Cut out sentiment to fit, add
fish tails to both side, curve then glue to center of diamond. Glue this whole decorative part to the front
of bellyband so that diamond is centered.
Now slide it onto the gatefold card.


HC PRODUCTS USED
Other Products:
White cardstock, pink cardstock, green cardstock, matte
enamel dots, Copic Markers: BOO, B01, RV10, RV02, Y32, E53, E33, E35, YG03,
YG23, Foam sheet.
Instructions:
Card Size: 6 X 6”. Cut a
green piece of decorative paper 5 7/8 X 5 7/8” and glue it to the folded white
card base. Cut 4 pink Arianna Lace and 4
white Arianna Lace dies, glue them together slightly offset. Glue 1 set to each corner of the card. Die cut 1 foam sheet Diamond Basic and 2
white Diamond Basics sizes to mat Eyelet Diamonds. Cut 1 Decorative paper pink Eyelet Diamond
and 1 light green Eyelet Diamond. Stack
and glue them together according to size with the foam sheet on the bottom. Glue the stack to the center of card.
Stamp Arianna
Blooms using Vibrant Fuchsia, sponge with Buttercup and lightly Fuchsia, die
cut and shape in Floral Basic Shaping Mold (see video). While blossoms are
still damp, pleat pedals with your fingers.
Stamp leaves using Fern Green and
sponge with Leaf Green, die cut and shaping in Leafy Shaping Mold. Stamp sentiment onto pink decorative paper
using black then die cut with a small Diamond Basics, glue it to the Diamond stack. Stamp birds on branch using black, die cut
then color with Copic markers.
Glue 3 blossoms per flower, pierce hole in the center
then insert stamen. Cut leaves apart as
necessary and form an arrange on the left side of Diamonds. Foam tape the birds on a branch and adhere to
the top of the Diamonds. Glitter the
flowers. Finally add a pink dot to each
corner.
Thanks for visiting today!
Robin
Job 37:5-6 New King James Version (NKJV)
5 God thunders marvelously with His voice;
He does great things which we cannot comprehend.
6 For He says to the snow, ‘Fall on the earth’;
Likewise to the gentle rain and the heavy rain of His strength.


.jpg)
.jpg)