Good morning!
Look at these fun wreaths, we all like to make wreaths don't we?
Join in the fun then post your creation on the Heartfelt Creation FaceBook page for all to admire!
For a list of materials click
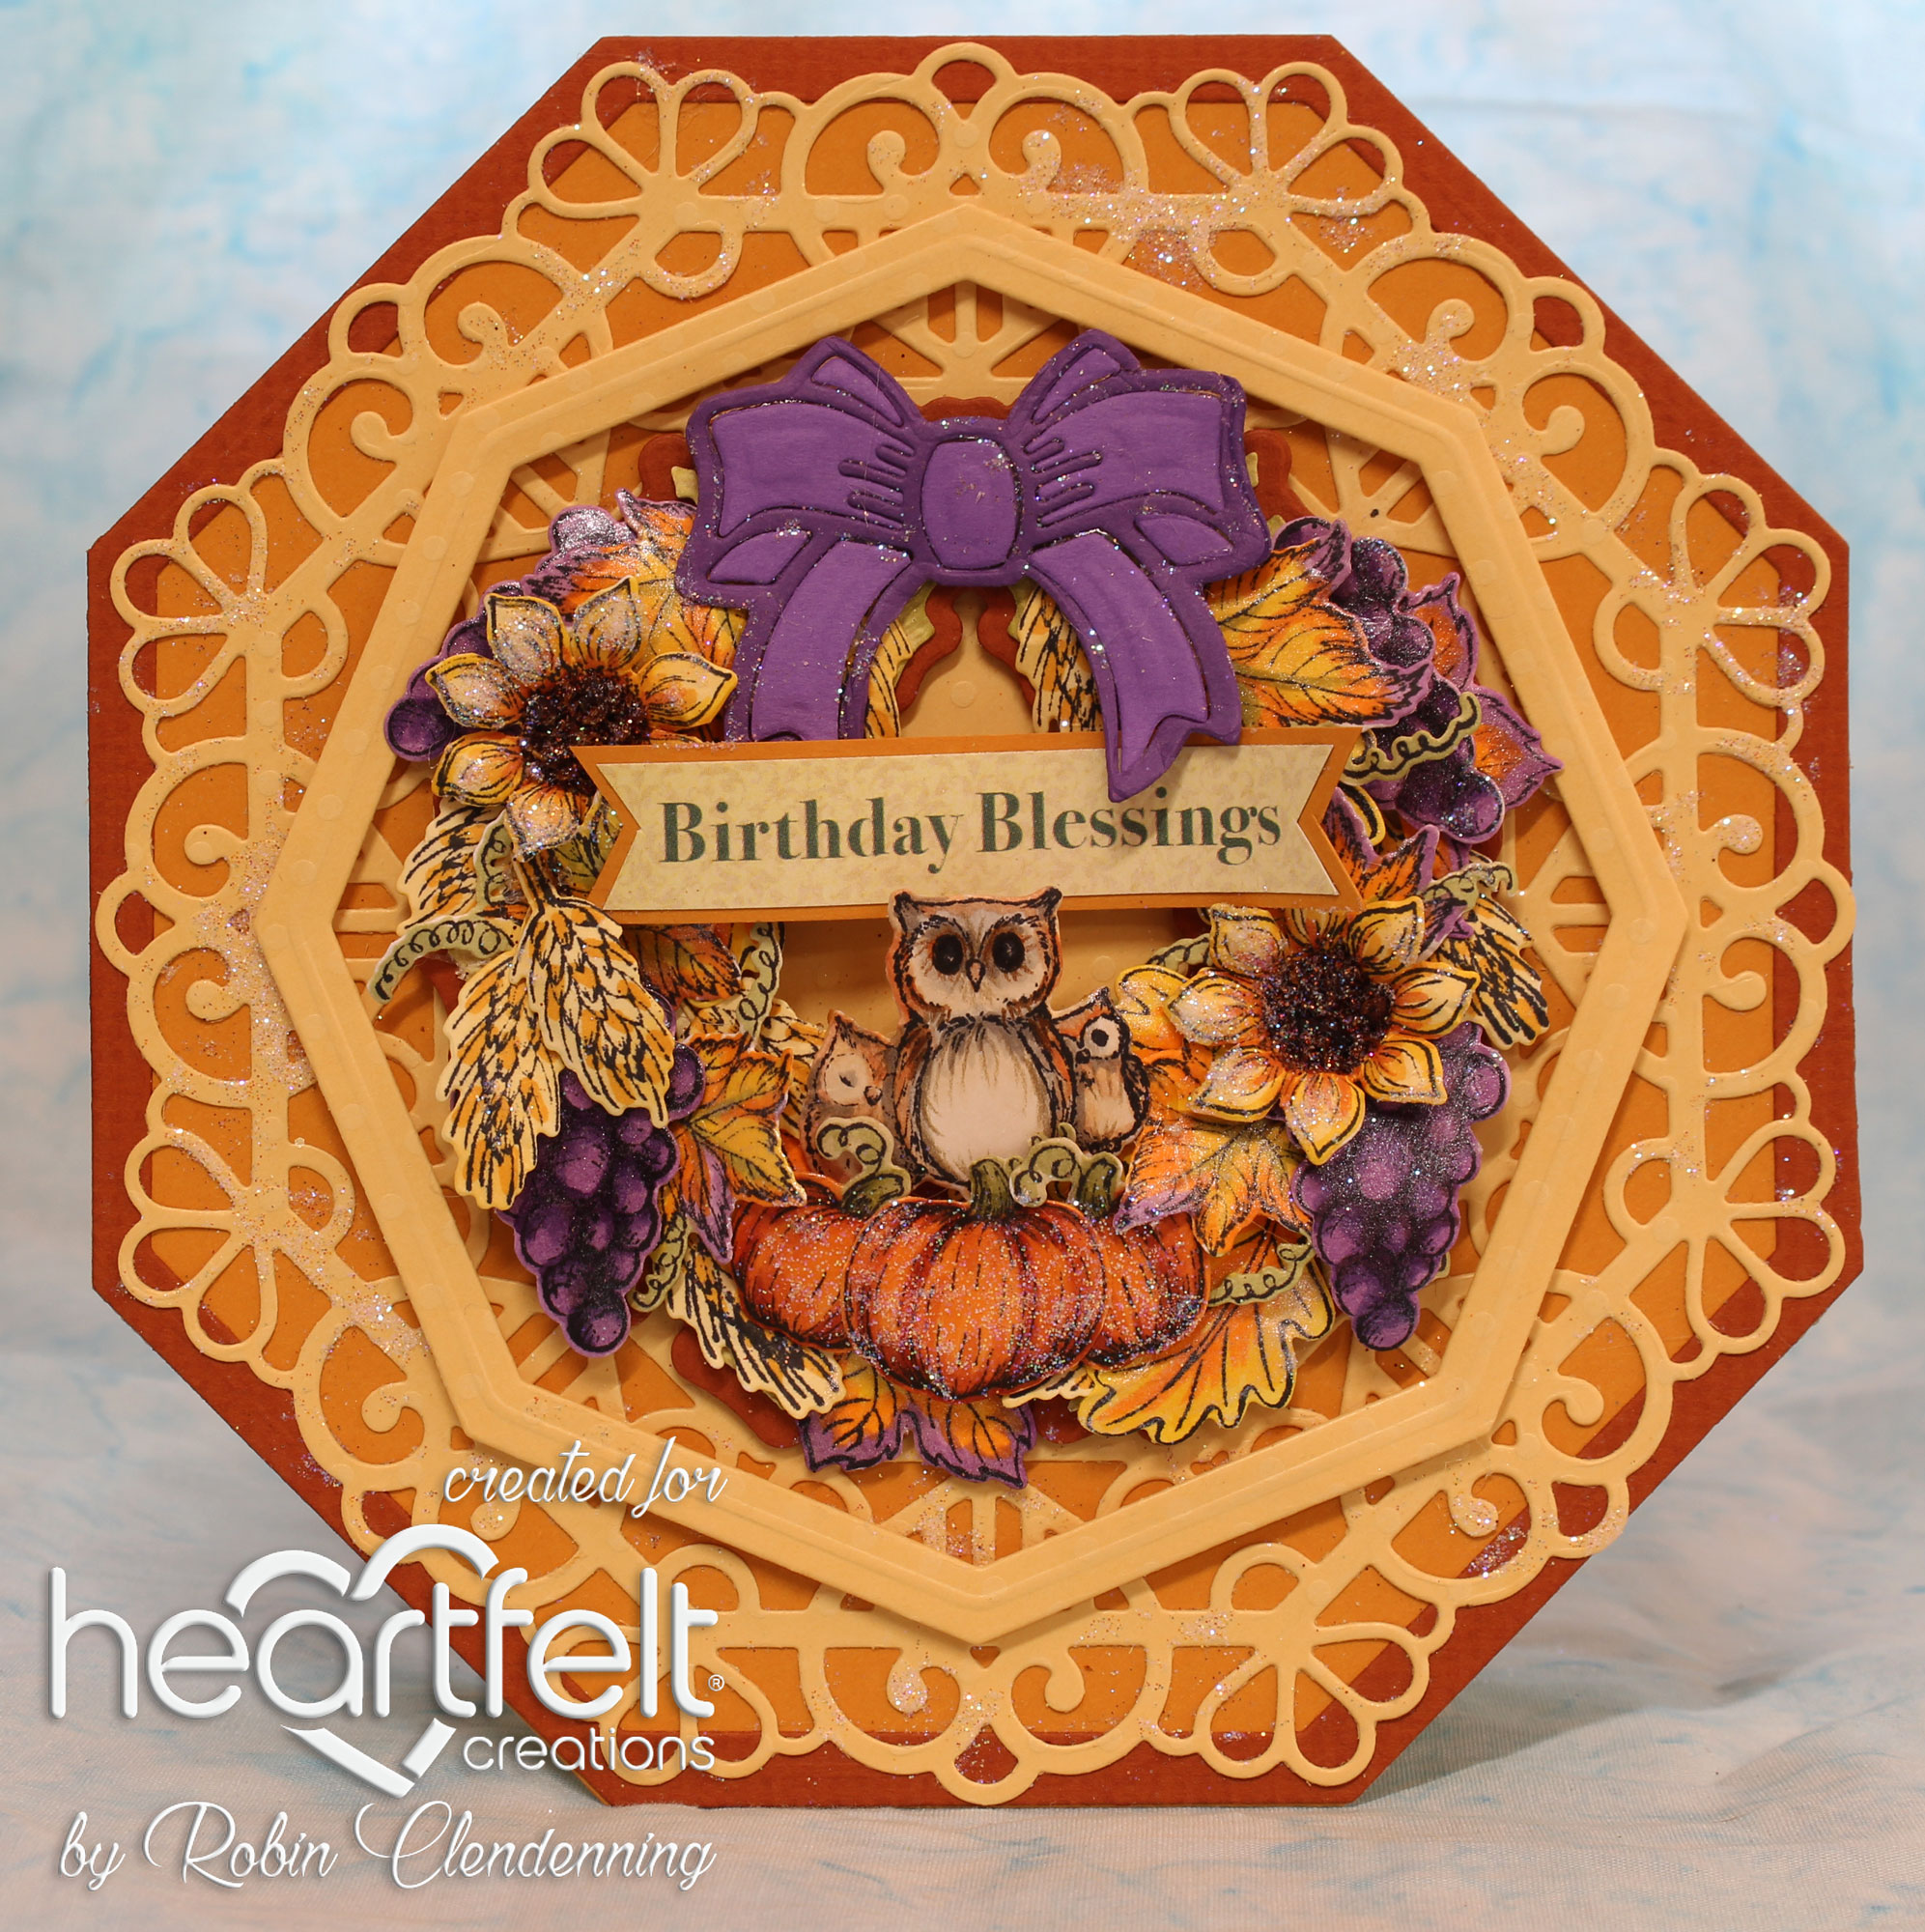
HERECard size: 5 1/2 X 5 1/2"
Fold ivory cardstock to 5 3/4 X 5 3/4"
then place largest Octagon die on it with cutting edge off of the fold, barely,
it will still cut a full octagon if straight cutting edge is just outside of
fold.
Cut another large octagon from gold color
cardstock and cover front matching edges.
Cut one from Rust cardstock with the next size down octagon also to make
an octagon frame for front of card, cut and glue to card front. Cut a large octagon from light gold color
decorative paper for the inside of card then glue in place. Cut a smaller octagon frame (4 1/2")
from light gold color cardstock then pop it up placing octagon with point down,
this frame will be perfect for the fall wreath.
Cut the Seasonal Wreath outline die from
rust cardstock then pop it up in the center of light gold octagon frame. Stamp all the fall décor or the pieces you
want on the wreath (some will need to be stamped 3 or 4 times and stamp the
smallest Rustic Sunflowers using Tuxedo Black, die cut then color all with
Copic Markers.
Glaze the grapes and some of the leaves
with 3D Lacquer. Glitter the flowers and
pumpkins. Glue wreath pieces down on
wreath base and pop some of the pieces up.
Pop pumpkins at the bottom with owl trio on top of them. Add Redland Elements to the sunflowers.
Die cut the bow using Seasonal Wreath Die set
from dark purple and from purple. Use
the dark purple for the outline part of bow.
Glue it to the top of wreath.
Cut out one of the sentiments and mat it
with medium gold color cardstock, fishtail the ends and curve it around a fat
pen (I use a Copic Marker). Glue it to
the center of wreath. Glitter the card.
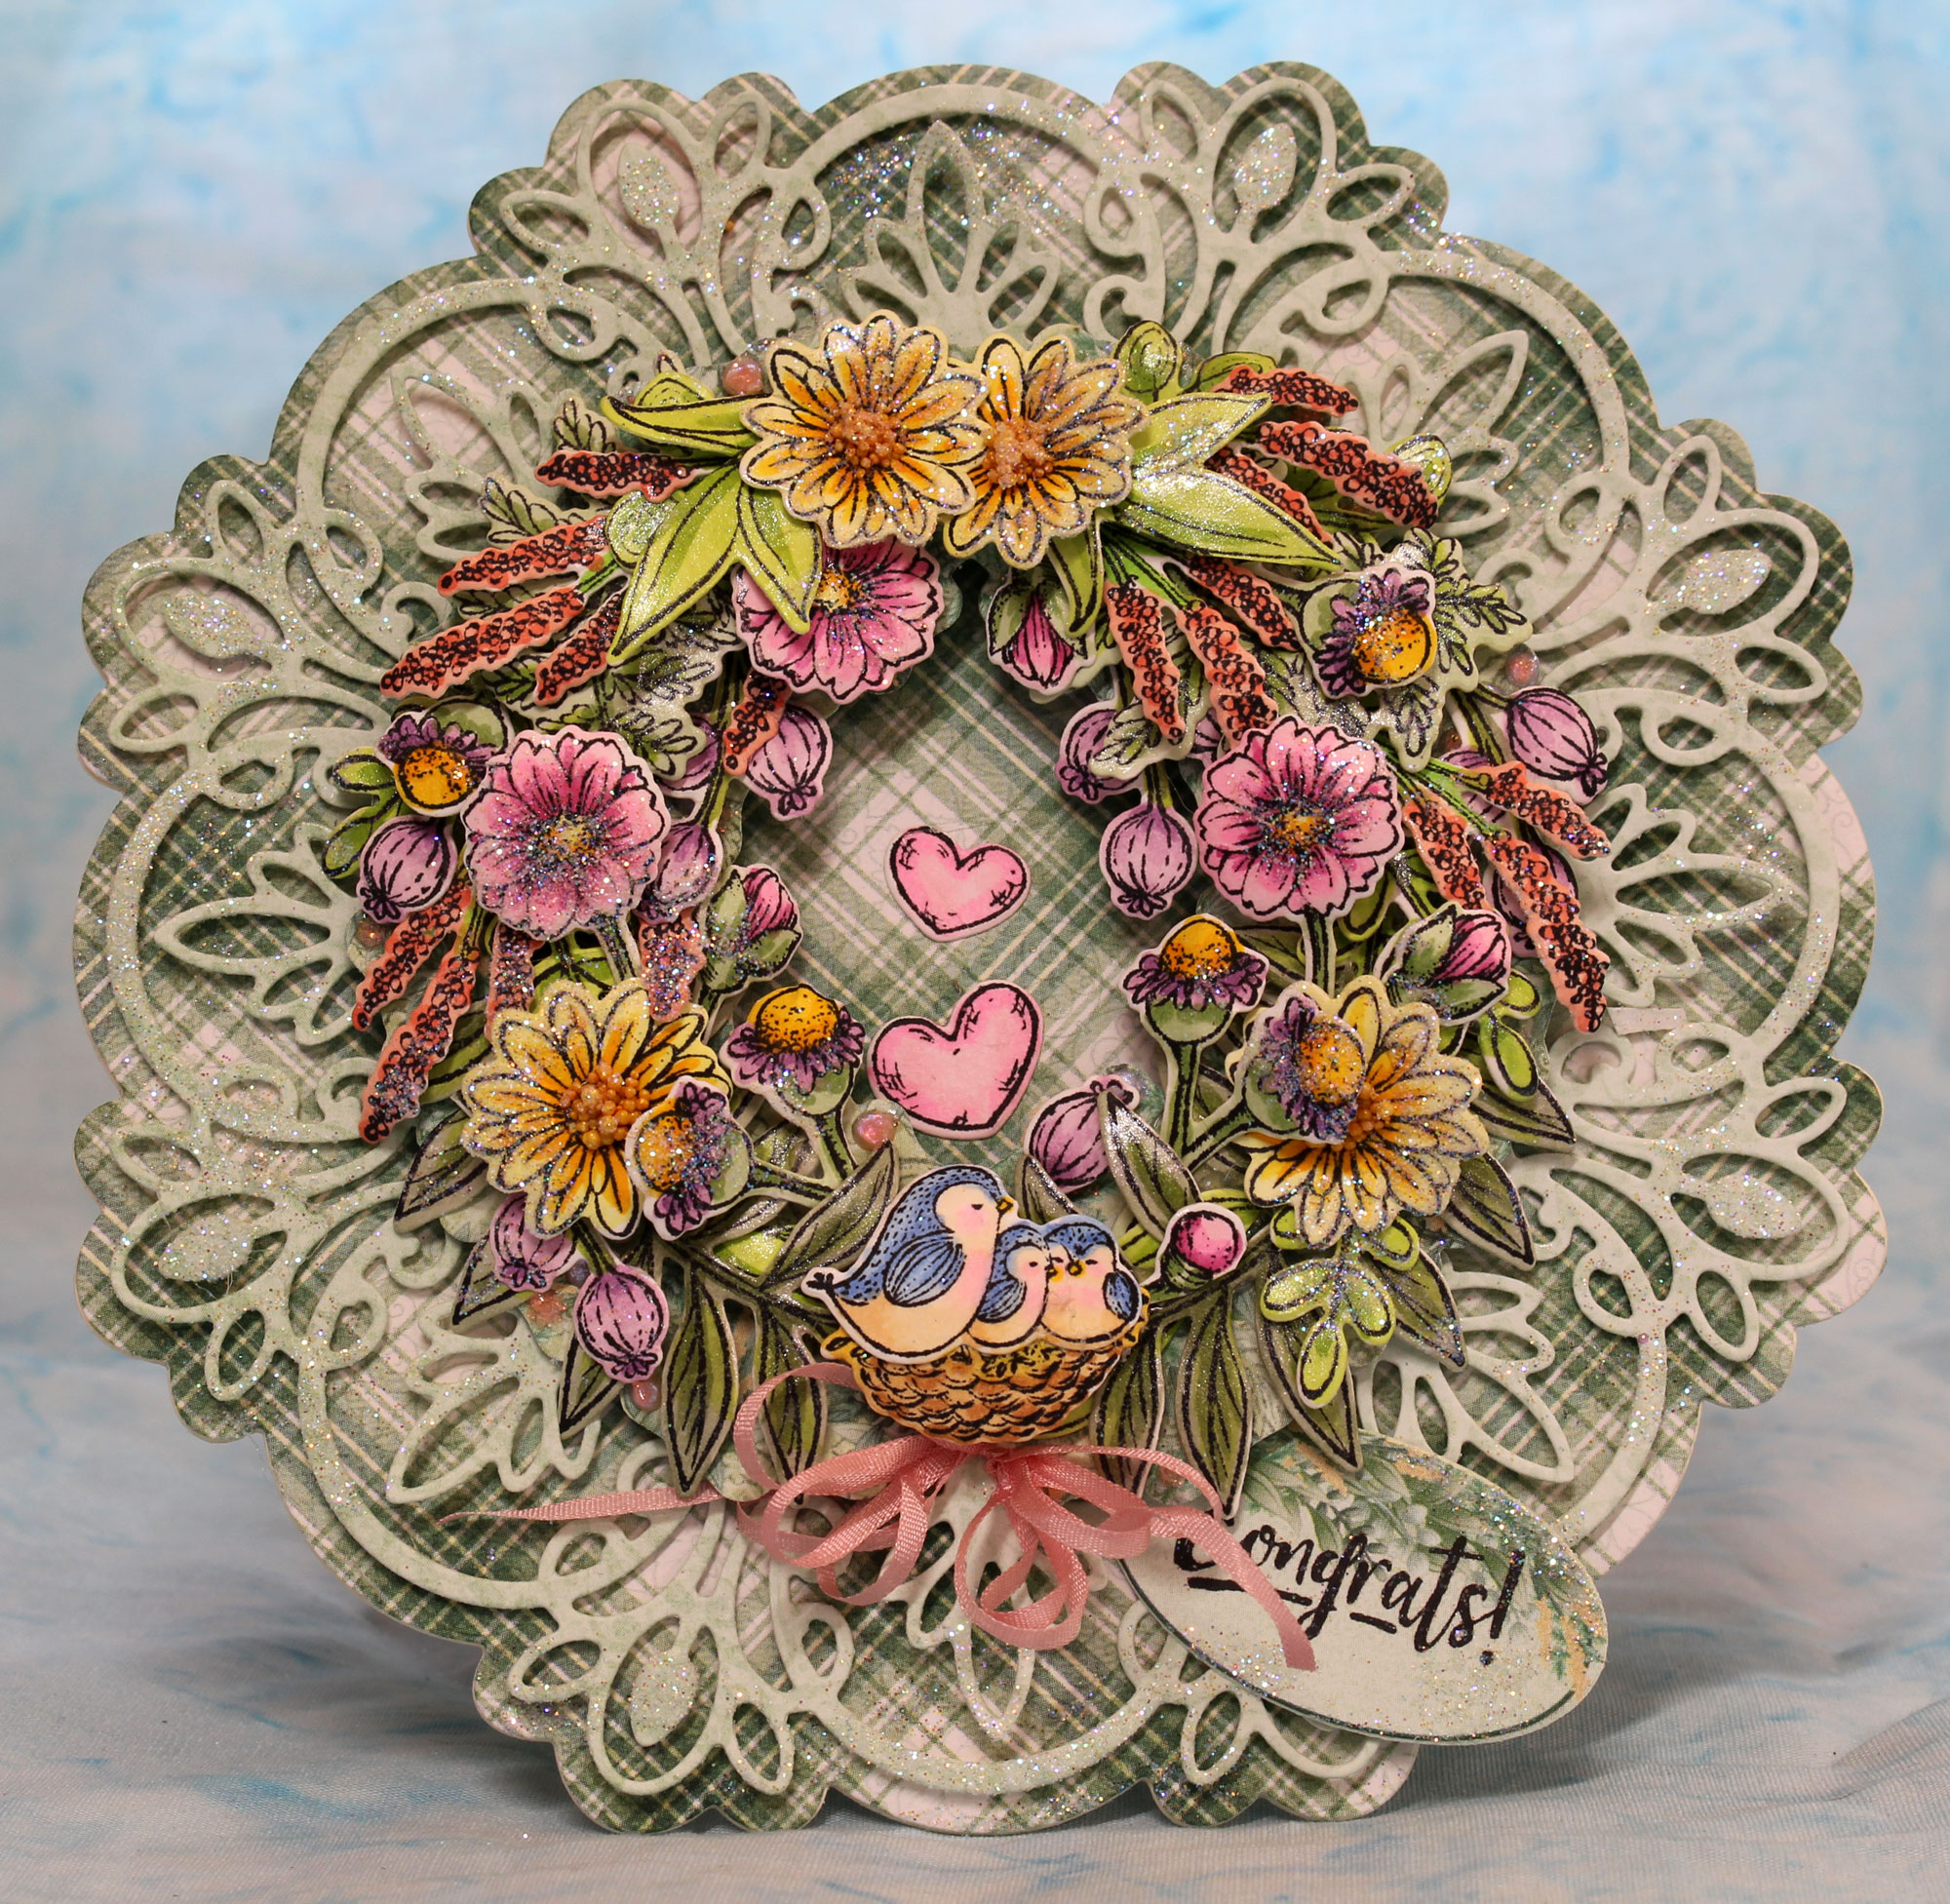
My next card is spring related with a twist, looks like someone has had a new addition to their family!Find the list of materials for this card
HERECard size: 5 1/2 X 5 1/2"
Use the outer die of the Simply Elegant
Centerpiece to cut a folded 5 3/4 X 5 3/4" white heavy weight card leaving
top part of the die off the edge of fold about 1/4". Use the outer die again to cut green plaid
decorative paper and another white cardstock piece then glue to top of card
matching edges. Cut the large inside
decorative part of octagon from light green decorative paper then pop it up
onto card front.
Stamp all the pieces (at least 2 times) of
the summer wreath and the (congrats on decorative paper) using Tuxedo Black on
white cardstock, die cut all, color with Copic Markers. Cut Seasonal Wreath outline from green, pop
up on center of card.
Arrange leaves and flowers around wreath,
leaving room at the bottom for the birds and nest. Glue and pop up some of the pieces around
wreath, pop up nest and birds then add tag and ribbon under nest. Add the little hearts to the center of
wreath. Glitter the wreath and card,
add some lacquer to some leaves.
Thanks for visiting today and I hope you got some inspiration!
Go get crafty!
Robin
Loving One Another
Dear friends, let us continue to love one another, for love comes from God.Let us think of ways to motivate one another to acts of love and good works.
jpg.jpg)

.jpg)