|
Oakberry Lane Blossoms Stamp Set Summer’s Garden Paper Collection Eyelet Circle & Basics Small
Die Crystal Ultrafine Transparent Glitter Deluxe Flower Shaping Paper Pack of 50-White White cardstock, Ivory cardstock, pink cardstock, Acrylic Shimmer additive, Fun Foam sheet, flower punch (for the sepals), green cardstock, Nuvo Dream Drops-Love Potion
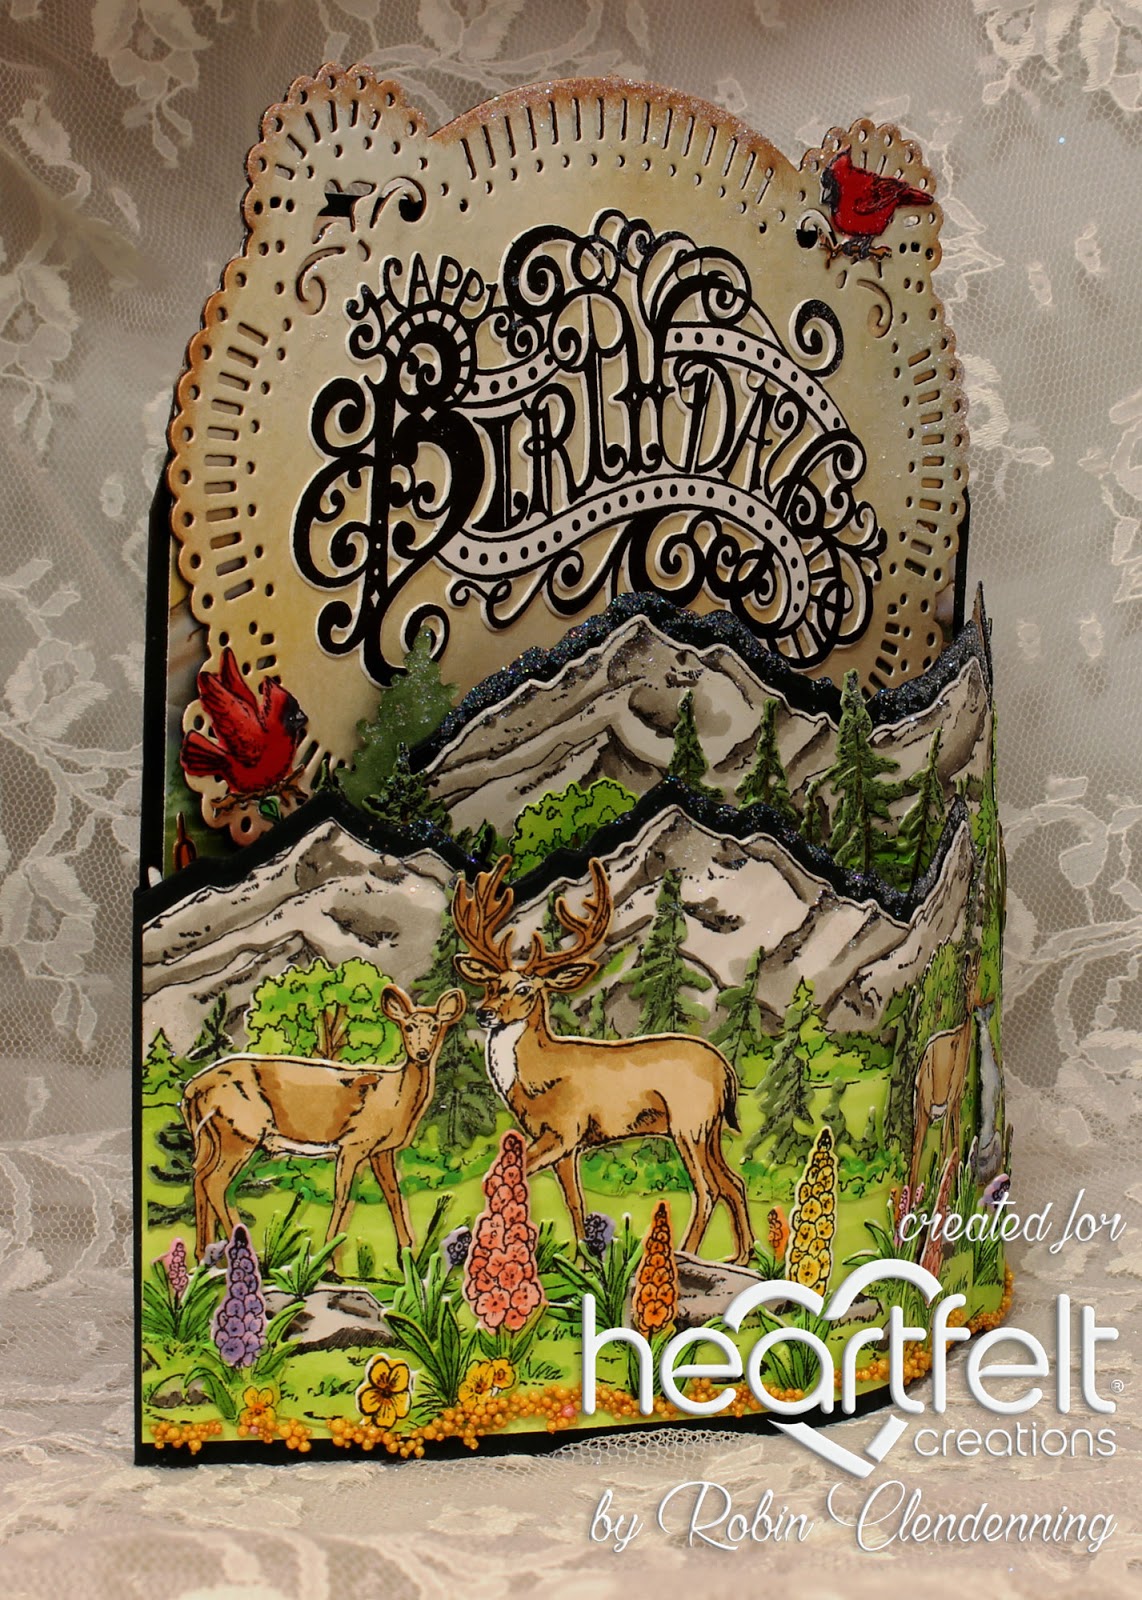
For more ideas on creating with the 5 x 7 Decorative Frame Dies, watch the tutorial at https://youtu.be/qdBFA5VpmSo Card size: 4 3/4 X 6 3/4". See video on how to make shaped cards then cut another front out of pink decorative paper. Cut the large decorative die from ivory then glue to card front. Cut the eyelet circle from pink cardstock then use the largest eyelet circle from the Decorative Circle Frames to cut the center out. Glue the pink Eyelet circle “frame” onto the white large die cut. Cut the sentiment base out of pink decorative paper and from foam sheet, glue the 2 together. Stamp sentiment using Rose Madder then die cut and glue to the pink paper base. Glue the sentiment base with sentiment layer to center of card. Use Nuvo drops to make “pearls” on each pink scallop and on the ivory large die cut. Stamp blossoms using Rose Madder, sponge with Pink Peony, die cut and shape in the mold. Glue 3 layers for each flower, pierce the centers then insert small stamen. Make buds with smallest blossoms closing them tightly then add punched small green flowers for the sepals at the bottom. Insert medium ivory color wired stamen (ink the wires with leaf green). Stamp leaves using Fern Green, sponge with Leaf Green, die cut then shape in the leaf mold. Arrange flowers and leaves around the left side of the sentiment panel. Glitter flowers with Rajni’s Crystal Clear and glitter card base with Crystal Ultrafine. Mix shimmer additive and Lacquer together then brush onto leaves.
My next card also features the lovely Zinnia. |


|
Summer’s Garden Paper Collection Elegant Especially For You Die Elegant Especially For You Stamp Set Crystal Ultrafine Transparent Glitter Deluxe Flower Shaping Paper Pack of 50-White White cardstock, yellow cardstock, Acrylic Shimmer additive, Fun Foam sheet
For more ideas on creating with the 5 x 7 Decorative Frame Dies, watch the tutorial at https://youtu.be/qdBFA5VpmSo Card size: 4 3/4 X 7”. See video on how to make shaped cards then cut another front out of decorative paper (soft peachy and yellowish print). Cut 2 of the large decorative part Royal Elegance, 1 white, 1 yellow. The next layer is the decorative oval part of the same die set out of white. Then cut the oval part out of foam sheet and the peachy color decorative paper. Stamp the sentiment using Buttercup then die cut. Die cut the sentiment base from white. Glue them together then onto ovals. Glue the ovals to decorative oval. Glue the yellow and white large die cuts together off-setting a bit then glue all the layers to the card front. Stamp medium and small Zinnia using Tiger Lily and Buttercup, sponge with like colors. Stamp the small Zinnia again using Leaf Green, sponge with the same. Stamp leaves using Fern Green, sponge with Leaf Green. Die cut all then shape in the molds (see video). Inner petals are shaped with the Groove Golf Tools into tubular looking petals. The “buds” are also done with the Groove Golf Tools. Use the small green Zinnia as sepals for the buds. Glue 5-6 layers together for larger flowers and 4-5 for smaller flowers, fill centers with Prills. For buds, stamp the Leafy Accents using Fern Green sponging with Leaf Green, die cut and shape in the Leafy Accents mold. Mix Lacquer and Shimmer additive together then brush onto all the leaves. Use Rajni’s Crystal Clear on all the flowers, use Crystal Ultrafine on the card base to glitter. Thanks for visiting today! Robin Matthew 6:19-21 |