Hello crafting friends!
Today I am sharing Fun Fold Tutorial
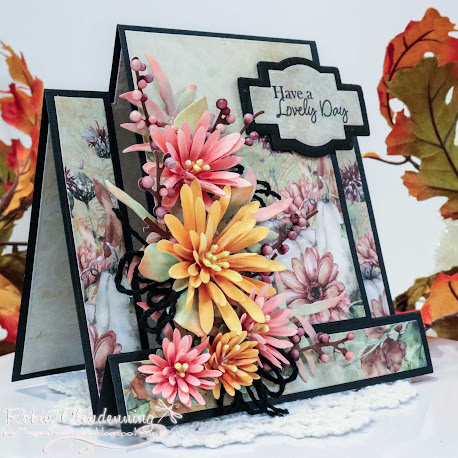
Here is my finished project

Pattern for this project.Cut lines are solid, score lines are dashes.
What you will need:
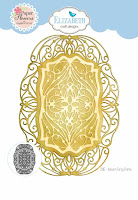
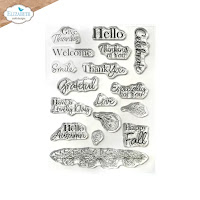
6 X 12" decorative heavy weight paper or solid cardstock (sample uses paper from Autumn Harvest), 1 sheet Soft Finish Cardstock, 1 piece 1 X 12" coordinating color cardstock for border plus 4 X 6 for corners, 1 piece of gold metallic cardstock for border and some for corners, Prills or stamen for flower centers, Diamond Glaze, loose glitter, Elizabeth Craft Designs dies: Elegant Decorative Borders, Autumn Fancy Corners, Autumn Foliage, Florals 31, Florals 32, Everyday Words 2.
All leaves and flowers are cut from Soft Finish Cardstock, die cut then brushed with Oxide ink for color.
Step 1: Make cuts in decorative 6 X 12" paper 1" in from long edge and starting at the 5" mark, cut to the 11" mark on your cutter. Do the same along the bottom long edge as shown in the photo above.
Step 2: On a scoreboard, with long edge at the top, score card at 4" and 8" from top to bottom. Score between cuts at 5", 6 1/2", 9 1/2" and 11". Fold on score lines starting with a valley fold at 4", mountain fold at 5" (fold between cut lines, DO NOT fold above or below cut lines. Keep folding valley, mountain etc. until all score lines have been folded and folds creased tightly using a bone folder.
(Important: the only score lines that go from top to bottom is 4" and 8" like a trifold card).
Step 3: Cut the border and corners out of color cardstock and then again out of gold metallic cardstock. To make a continuous 12" border, place the top cutting plate so that it does not go over the end of the die, after running die through machine, move the die down (match die to previously cut paper as shown above making sure top plate is not on top of die end of previously cut paper) then run it through the machine again.
Step 4: Glue the borders together slightly off-set so that you can see gold edging, same with corners then glue the border to the top of card and corners on the left and right bottom of card.
Tip: score borders at 4" and 8" before gluing to card to help it fold with the card easier.
Step 5: Cut Thankful mat from color cardstock and thankful word from Gold then glue them together and set aside.
Step 6: Cut and color all the foliage (you may have left over foliage, if so yay, you have a head start on your next card).
Step 7: Cut out and color flowers from Florals 31 with Worn Lipstick and Lumberjack (or similar).
Step 8: Cut then color Florals 32 with Scattered Straw and Carved Pumpkin then using a stylist, shape the flowers from the back on a foam mat. Glue several layers together (the 2 bottom layers should be the same size on all flowers, both types). After the first 2 or 3 layers its fun to add smaller layers for depth.
Tip: When adding each layer be sure to stagger the petals.
Step 9: Shape florals 31 (pink flowers) using long nose tweezers or other tool to make tubular petals. Glue several layers together (just like the other flowers). Fill all flower centers with Prills or stamen.
Step 10: After cutting, coloring and shaping foliage and flowers, start arranging leaves and flowers on the card as desired. Don't glue them down yet.
Step 11: before gluing flowers and leaves onto card, decide where you want to put the Thankful, make sure there will be room to see it. Glue it to card where shown so that card can still be folded without creasing the word.
Step 12: Glue all flowers and foliage as planned previously. the more 3D flowers the harder it will be to mail so keep that in mind. I usually put cards like this in a gift bag with a gift or hand deliver.
Tip: If you want to mail your card consider using the Autumn Harvest Stamp and Die Set and/or Autumn Pumpkins stamp and die set instead of dimensional flowers.
Another variation of this card using the bird as part of the decor.
Thanks for visiting today!
Robin


