


Step 2: On one of the panels, cut the center of the 4” panel with a rectangle die (Do not cut all the way out, stop before cutting the top and this will be a fold line). Just place the top cutting plate up to but not over the cutting edge of your die, it will then cut all but the top out.
TOP TIP: If using a die cutting machine that is not large enough to do this partial cut while open, then fold first/second score inward and over top of die not under, as shown here.


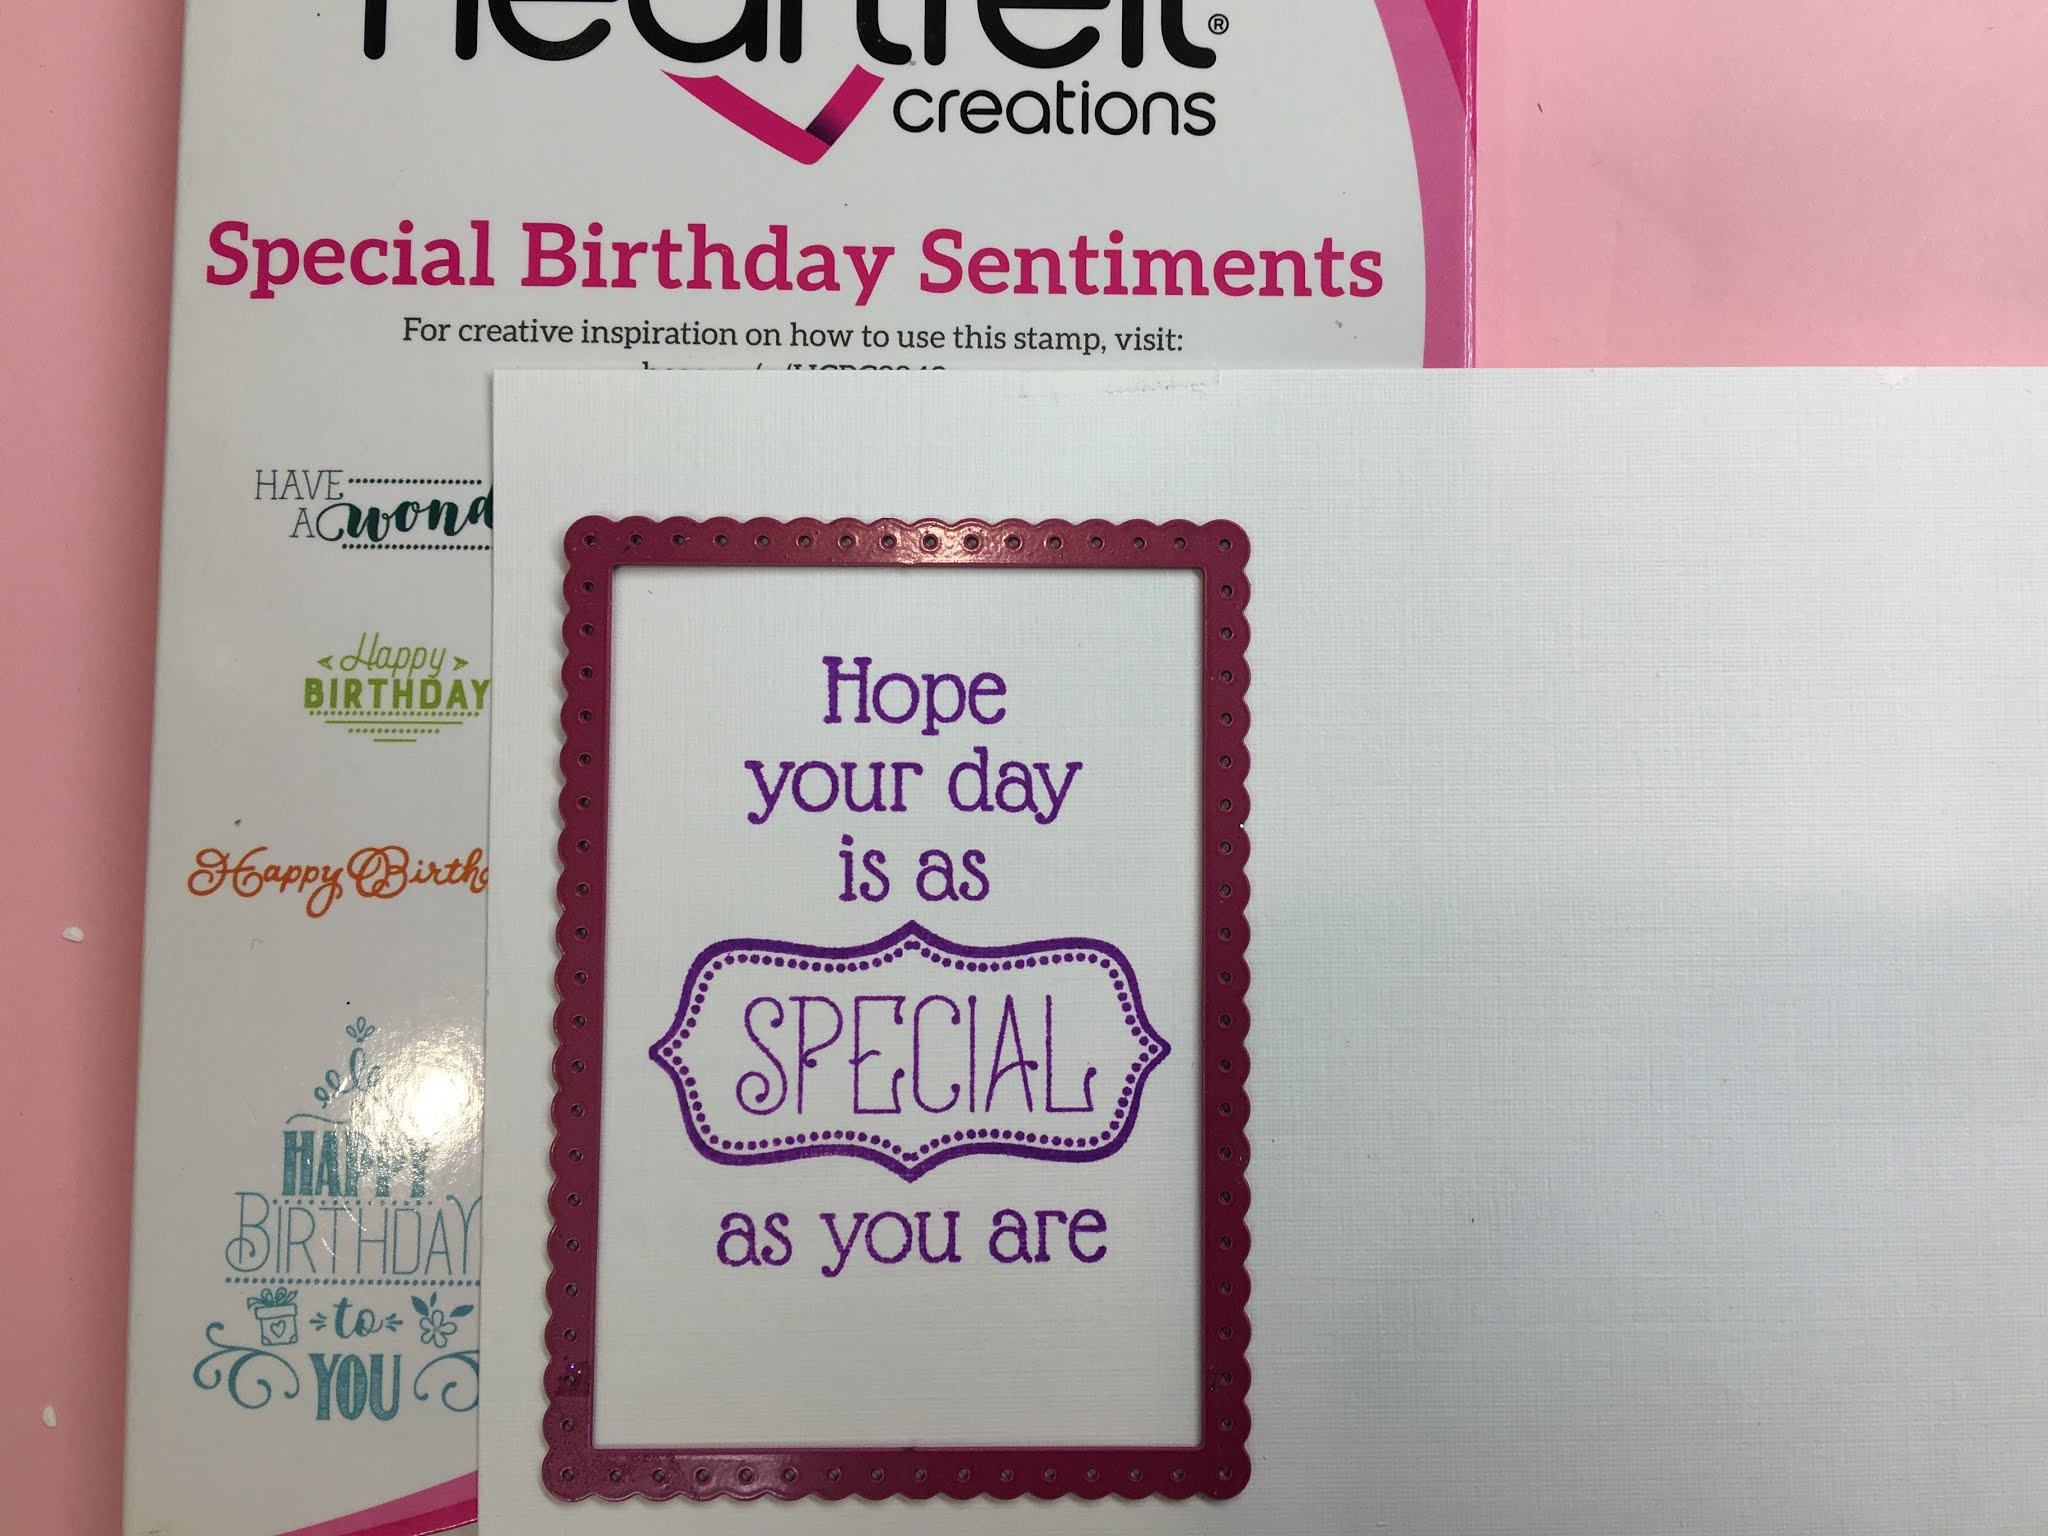
Step 4: Create a decorative paper panel for the lifting door then use the Eyelet Rectangles & Basics die (extended) to make a pretty frame. This is a frame so two dies are taped together, the eyelet and the straight edge nesting rectangle dies. Rescore the fold at the top of door. Now glue right and left sides together. Keep from gluing the door area but make sure both side edges of the door have glue and match bottoms.
TOP TIP: The way to extend any die with regular repeated edges or plain edges is to place the die on a long enough piece of cardstock at one end of the paper then die cut all the way to within 1/2” of the end of the die, stop, lift die and move it down so that pattern lines all meet then cut again to desired length.


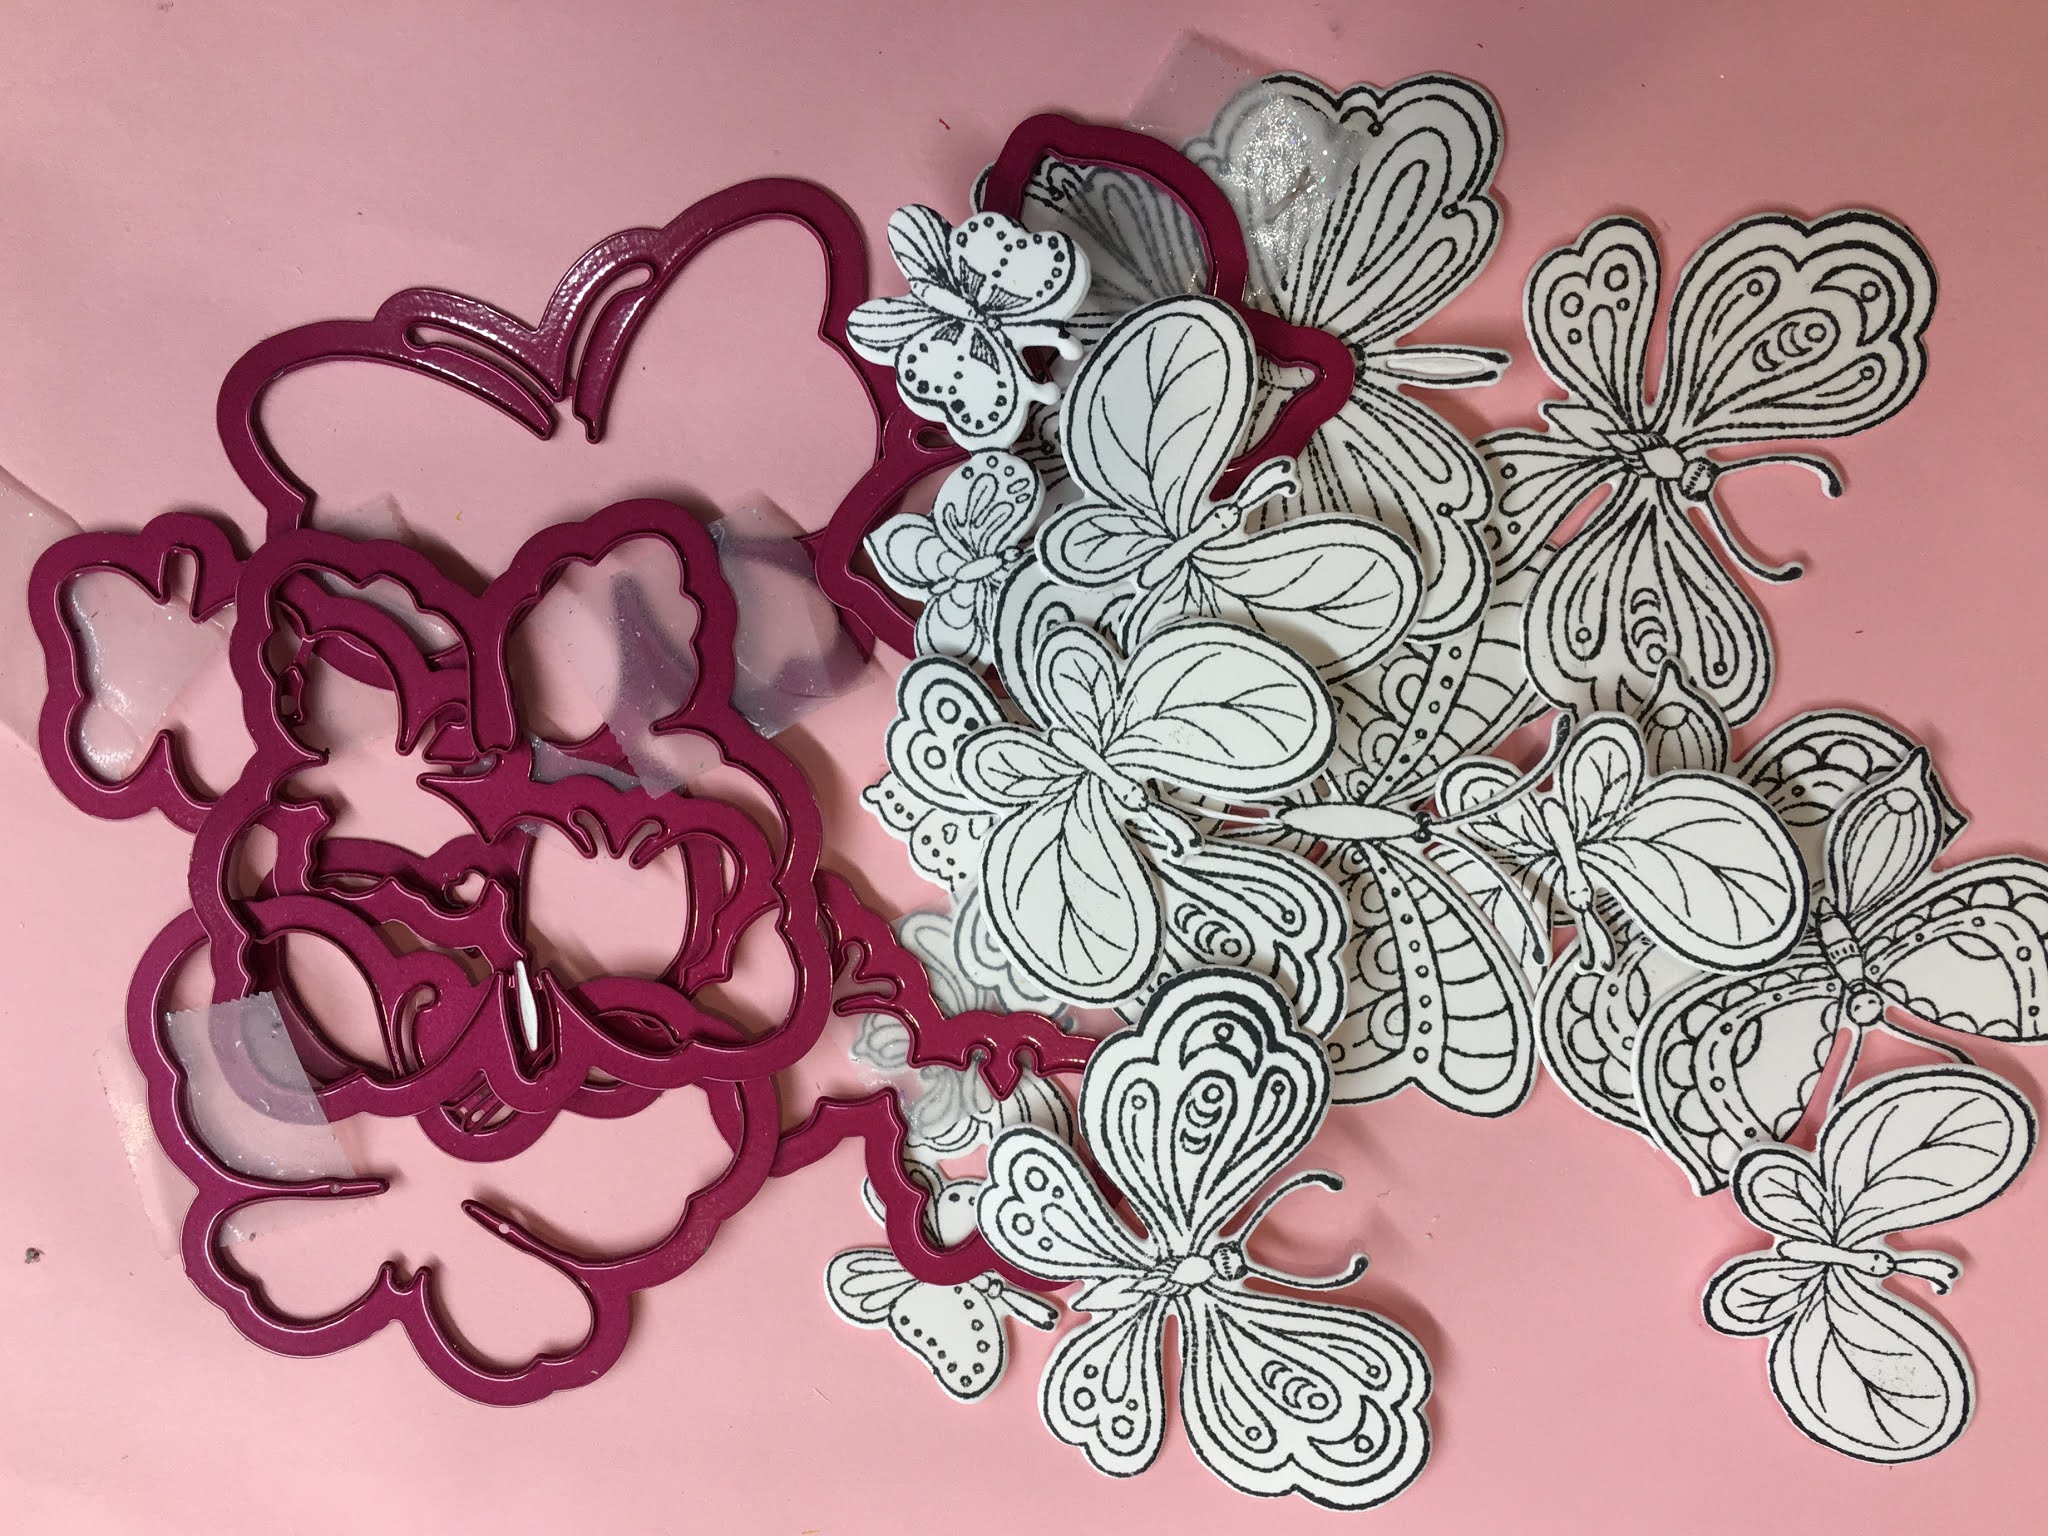


Step 8: Stamp butterflies from Small and Large Floral Butterfly Cling Stamp Sets and greenery from Floral Butterfly Accents Stamp Set using black ink, die cut using coordinating dies then color to match designer papers used.
TOP TIP: When coloring with alcohol inks such as the Copic Markers used here, stamp using Memento Tuxedo Black ink. When coloring with water based inks, stamp using Archival Jet Black ink.

Step 10: Make a belly band 2” x 9 1/2" then score at 2 1/2" and 7”, fold and glue center together, cover front of belly band (seam side) with decorative plaid paper 1 3/4" x 4 1/2". Cut 2 more Sweetheart Borders for the top and bottom of belly band front then glue them in place. Cut an oval using the Eyelet Oval and Basics Die to fit the front from white cardstock and from decorative coordinating paper, glue these together for strength then glue the oval over the center. Glue one of the previously stamped and colored butterflies to the oval.

TOP TIP: Learn more techniques with the Floral Butterfly collection in this video here: https://www.heartfeltcreations.us/video/how-to-create-shaped-floral-butterfly-cards-with-vellum
Have fun creating your own projects! We love to see what you create too, share your projects with us on our Facebook page here https://www.facebook.com/HeartfeltCreations

1 comment:
Love this project. Just gorgeous
Post a Comment