Pages

Comments are welcome and very much appreciated!

Sunday, July 16, 2023

July Release Day 2 Good Vibes

Hello crafty friends!
Welcome to day 2 of the July Release Hop!


From July 15th to 16th, the Impression Obsession Team will showcase new projects featuring their latest clear stamps, dies, stencils, and paper packs. You can check out the Impression Obsession Blog for a daily list of participants during the event. As a bonus, two fortunate customers who purchase from Impression Obsession during the July release week (July 15th to 23rd) will receive an exclusive prize package alongside their orders.

Find lots of ideas by visiting each Design Team Blog below.

These Sea birds are so fun!

My first card 


Great catch!
This pelican has it all together!


Thanks for visiting!
Visit all the Design Team blogs to see many wonderful new products and ideas!

Robin


Saturday, July 15, 2023

July Release Day 1 Holiday Fishes

Welcome to the July Release Hop!


From July 15th to 16th, the Impression Obsession Team will showcase new projects featuring their latest clear stamps, dies, stencils, and paper packs. You can check out the Impression Obsession Blog for a daily list of participants during the event. As a bonus, two fortunate customers who purchase from Impression Obsession during the July release week (July 15th to 23rd) will receive an exclusive prize package alongside their orders.

 Impression Obsession Blog


My first card features a darling fish with a Santa hat.  He is just too cute!

Splatter embossing folder, Liquid Applique, Diamond Glaze

My next card features this darling holiday fish as well.

Ribbon, pearl halves, plastic net from cheese, embossing folder splatter, embossing ink, Liquid Applique, Diamond Glaze

My final card features the all-new Christmas dies and paper pad as well as the beautiful poinsettias that are so versatile during the holidays. 


Thanks for visiting today, I hope you will visit each blog for more ideas!
Robin


Tuesday, July 11, 2023

Holiday Ornaments Debut

 Good morning crafty friends!


Card size:  5 X 6 3/4"

Make a decorative shaped card following the instructions in Emma Lou’s video here (How to Create Decorative Shaped Cards for All Occasions (heartfeltcreations.us)

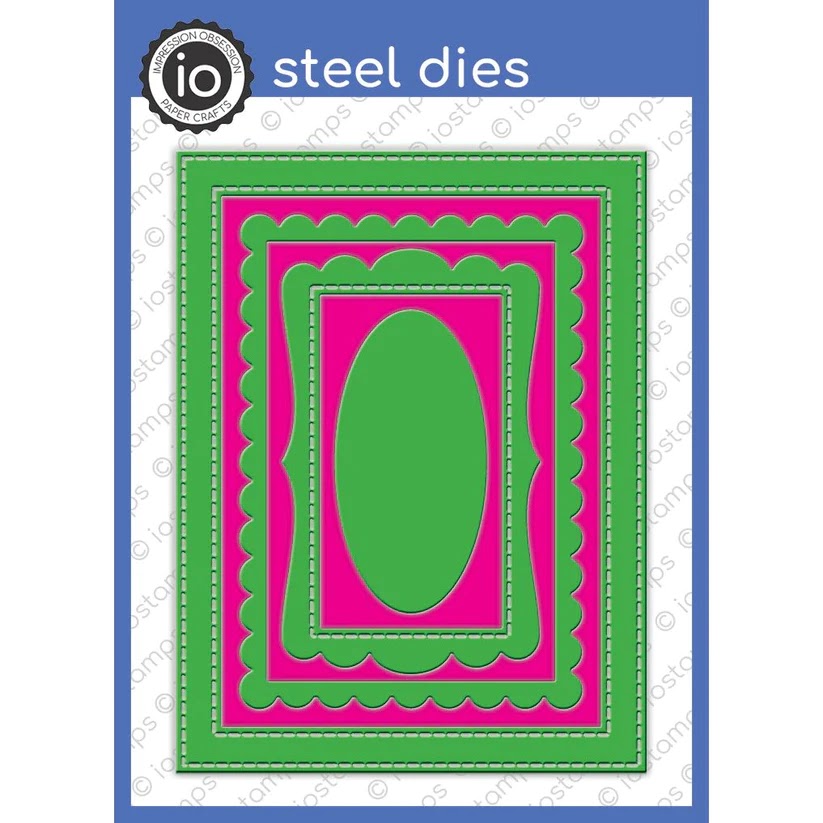
Cut a front using the same outer die of the Royal Elegance Frames from lavender decorative paper (the paper used for this sample is from the Iris Garden Collection).  Also, cut an oval from the Royal Elegance set from the same lavender paper, and set it aside. Glue the lavender card front to the shaped card matching edges.

Cut the decorative frame and decorative oval from white and from silver cardstock, use the oval to cut the center from the decorative silver oval die cut, and glue each set together slightly off-set.  Glue the lavender oval to the decorative oval set, add foam to the underside then set aside.

Use foam strips to adhere the silver and white frame to the card front then adhere the decorative oval stack on top, centered.

Stamp poinsettias on Deluxe Flower Shaping Cardstock using silver ink (you can choose to emboss if you don’t mind getting some embossing in the mold). Shape flowers and holly in mold then finish on a mat using the Deluxe Flower Shaping Kit. Insert pearl silver stamen and glitter petals. Add flowers and leaves to the card from the top left and bottom right and insert some beaded silver stamen into the arrangements.

Stamp the ornaments using black, die cut, add silver sparkle pen, add glitter, punch 1/8” holes to insert some silver thread at the tops.  Glue and/or pop-up ornaments to center lavender oval.

Stamp sentiment using VersaMark then emboss with silver and heat set.  Die cut then add to card at the bottom of ornaments.

Add lacquer to ornaments and holly leaves as desired.

My next card is a shaped easel card.


Card size:  6 X 6

Make a shaped Simple Centerpiece card base (see video: How to Create Shaped Elegant Centerpiece Cards the EZ Way (heartfeltcreations.us)  Score the front of the card at its center to parallel the center of the card fold, fold downward toward the card center.  Cut another front for the card from white cardstock and also from plaid decorative paper times 2 (1 for the inside card).  Add glue to the bottom half of the card base front then glue the new card front to the base making sure all sides are matched, this forms your easel.  Glue 1 plaid die cut onto the front. Glue the other plaid piece to the inside of the card (be sure to avoid the score line for a good fold).

Use 2 Centerpiece dies together to create gold frames or borders. Two sizes for the front (6” and 4” by 1/2” thickness each) and 3 sizes for the inside (5 3/8”, 4”, and 2 1/2" by 1/2" thickness).  For the card front, glue the outside gold border to the card then pop up the inner gold frame.  Glue a piece of red decorative paper to the inside of the frame.  Inside the card, glue both of the larger gold borders down and add a red center to the smaller die border.

Stamp the sentiment using Vermillion onto white, die cut to fit the smallest gold frame/border then glue it to the gold.  Pop up the sentiment/border to the lower part of the card inside to act like a stop for the easel. Glitter front and inside of the card.

Stamp ornaments using embossing ink of choice (VersaMark used here).  Sprinkle with gold powder then heat to emboss.  Color ornaments with green and red then add gold glitter pen to ornaments.  Glue and/or pop-up ornaments to center red. Add gold thread to ornament tops.

Stamp greenery using Library Green on green decorative paper, die cut then add to card front on top of ornaments, red stamen, and gold ribbon. Save 1 piece of greenery for the inside of the card.

Stamp poinsettia using Vermillion on Deluxe Flower Shaping Paper, sponge with Carnation Red, die cut, form in shaping mold then glue 2 together to form a flower.  Insert gold stamen.  Glue flower, red stamen, greenery, and gold ribbon to the inside raised sentiment on the left side.  Glitter flower.


Thanks for visiting today!
Robin
Now to him who is able to do far more abundantly than all that we ask or think, according to the power at work within us, to him be glory in the church and in Christ Jesus throughout all generations, forever and ever. Amen.

Monday, July 10, 2023

Impression Obsession Product Focus

Hello friends!
Today Is Product Focus Monday so my card features DIE780-YY Sunset on a Horse


I used a background that I sprayed with Oxide Spray Inks and set aside to dry. I thought the Cover A Card Stamp, Crackle, was perfect for a desert scene.
To me he looks like he is thinking about his sweetheart at home.


Head over to Impression Obsession where you can find a whole lot of dies on sale now!!


Get more ideas by visiting Impression Obsession's Design Team member below.


Thanks for dropping by today! Go get crafty!
Robin


Tuesday, July 4, 2023

Wonderful Christmas Window Card

 Hello Friends!


Card size:  5 X 6 7/8”

Make a shaped card with the outer die of the Simply Classic Rectangle Frame (see video: How to Create Decorative Shaped Cards for All Occasions (heartfeltcreations.us) Cut another front from the decorative stripe and decorative light blue papers.  Use the Decorative Frame in the die set to cut out the light blue piece.  Glue the stripe to the card front then cut a white and a gold decorative frame with the same die. Glue the white and gold together slightly offset then glue to the card. Glue the blue paper inside the frame.

Use the curved edge rectangle to cut away the card front center making a window to the inside.  Use the light blue scrap to cut the smaller center rectangle then glue it to the center of the window (inside card). Use the smaller decorative rectangle die to cut out a white and a gold frame for the center around blue. Glue them together off-set then glue to the inside of the card around the blue center rectangle.

Stamp birds (3 different birds, 1 with poinsettia) and 2 pomegranates using black ink, die cut then cut away greenery from 2 smaller birds and color all.  Round the backs of birds and pomegranates slightly then add foam to the backs.

Add small birds to the pomegranates then glue to the window frame's left top and right bottom corners.  Glue the poinsettia bird to the inside right.

Stamp sentiment using Vermillion, die cut, then pop up on the inside of the card left of the poinsettia bird.

Use Stickles or other glitter to make the greenery and pomegranates sparkle. Use Nuvo on tiny filler.


Thanks for visiting!

Robin

Blessed is the nation whose God is the Lord, the people whom he has chosen as his heritage!

Sunday, July 2, 2023

Joy July Red Rubber Release Day 2


Welcome to the July Limited Release Rubber Set Hop!
From July 1st to 2nd, the Impression Obsession Team will showcase fresh projects using the July Limited Edition red rubber stamp set. You can access the list of participants on the Impression Obsession Blog every day throughout the event. As a bonus, two fortunate customers who purchase an Impression Obsession product during the July Limited Edition Set release week (July 1st – 9th) will be selected to receive an exclusive Impression Obsession prize package added to their orders.
Design Team Blog List


Other details include chunky white embossing powder for snow, buttons, and thread for tag and buttons.
The frame is popped up.
A Snow Pen and glitter were used on the snow in the image.


My second card Uses the same image from the July Red Rubber set with different dies and sentiment. 


Thanks for visiting today!

Robin


Saturday, July 1, 2023

The Merriest of Merrys July Red Rubber Release Day 1


Welcome to the July Limited Release Rubber Set Hop!
From July 1st to 2nd, the Impression Obsession Team will showcase fresh projects using the July Limited Edition red rubber stamp set. You can access the list of participants on the Impression Obsession Blog every day throughout the event. As a bonus, two fortunate customers who purchase an Impression Obsession product during the July Limited Edition Set release week (July 1st – 9th) will be selected to receive an exclusive Impression Obsession prize package added to their orders.


I used some glitter pens on the image.


I used a button threaded in the corner for a fun final touch


I used a gold pearl for the flower center.


Thanks for visiting today, be sure to visit my fellow designers
for more inspiration!!

Robin


Luke 2

And while they were there, the time came for her to give birth. And she gave birth to her firstborn son and wrapped him in swaddling cloths and laid him in a manger because there was no place for them in the inn.[c]

And in the same region there were shepherds out in the field, keeping watch over their flock by night. And an angel of the Lord appeared to them, and the glory of the Lord shone around them, and they were filled with great fear. 10 And the angel said to them, “Fear not, for behold, I bring you good news of great joy that will be for all the people. 11 For unto you is born this day in the city of David a Savior, who is Christ the Lord.